Why Cross-Country Skiing Is the Perfect Winter Activity for Hikers (Plus Beginner Tips)
If you’re an avid hiker, you might spend all winter dreaming about blue skies and snow-free trails. But before you decide to hibernate ‘til spring, consider giving cross-country skiing a try.

Like hiking or snowshoeing, cross-country skiing is a fun way to explore the outdoors while getting plenty of exercise. Not only that, but it’s easy to pick up, and you can do it almost anywhere.
If you’re new to the sport, you’re in the right place. This blog is no substitute for a lesson or instruction from a pro, but it’ll provide some background info to help you get started. Read on to learn about cross-country skiing so you can hit the trails all winter long.
What Is Cross-Country Skiing?

Cross-country skiing involves using skis and poles to propel yourself over (mostly) flat terrain. Compared to downhill skis, cross-country skis are lighter and narrower. And unlike downhill skiing, you can cross-country ski almost anywhere.
There are two styles of cross-country skiing: Classic and skate skiing. Classic skiing involves gliding with your skis in parallel tracks, while skate skiing requires using a V-shaped skating motion. Each style has its own specialized type of equipment. And while you need a groomed trail for skate skiing, classic skiing is more versatile. Because classic skiing tends to be easier to learn, the rest of this blog will focus on this style of cross-country skiing.
Benefits of Cross-Country Skiing
Aside from being a fun way to spend your winter days, cross-country skiing has plenty of other benefits:
- Cost: While downhill skiing can be a pricey sport, cross-country skiing can be pretty affordable. Not only is the equipment generally less expensive, but you don’t need to buy a lift ticket every time you want to ski.
- Access: You don’t need access to any specific terrain, resort, or trails to go cross-country skiing. You can ski anywhere, as long as there’s snow — whether that’s a wooded path, your backyard, or a snow-covered road.
- Exercise: If you’re new to skiing, you’ll soon realize what makes it such an effective workout. Not only does it get your heart rate up, it’s a great strength-building exercise for your arms and legs.
- Practicality: XC skiing isn’t just fun — it’s also a practical and efficient way to get from one place to another. Deep snow can make it nearly impossible to travel by foot, so if you’re determined to explore certain trails in the winter, you may need a pair of skis to get there.
- Tranquility: There’s nothing wrong with making friends on the chairlift, but cross-country skiing provides an opportunity for peace and quiet that’s hard to find at the resort. Solo hikers especially will appreciate the quiet of skiing on a deserted winter trail.
Getting Ready To Ski
As with any outdoor activity, a little preparation goes a long way. Before going skiing, you’ll need to find the right gear and choose a trail.
Cross-Country Ski Gear

Even though cross-country skiing is a beginner-friendly sport, you need specialized equipment — like skis, poles, and boots — in order to do it.
If you’re trying out cross-country skiing for the first time, you can rent gear from a ski center, outfitter, or resort. Doing so will help keep costs down while you try out the sport — plus, you’ll get professional help sizing your equipment.
You’ll also need to dress to stay warm in cold weather. The good news is you don’t need special clothing — your regular winter active gear should do. Since cross-country skiing is such an aerobic sport, you’ll warm up quickly. That’s why layers are key. We recommend the following:
- Merino wool base layers
- Insulating mid layers
- Lightweight wind- and water-resistant outer layers
- Gloves or mittens
- Sunglasses
- Hat
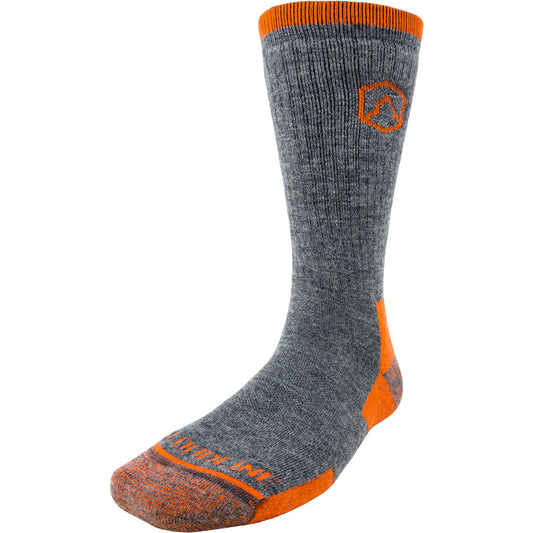
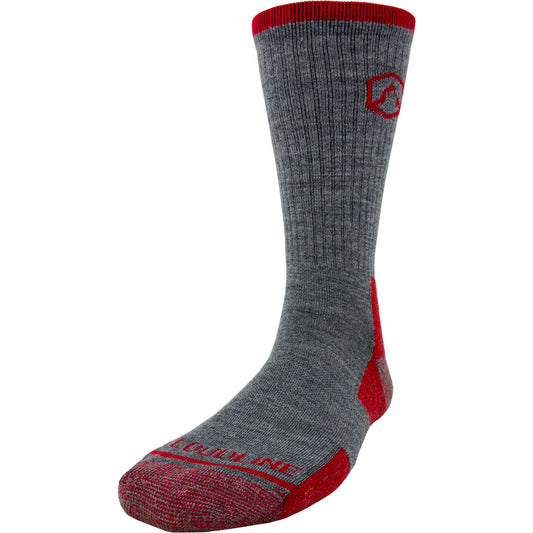
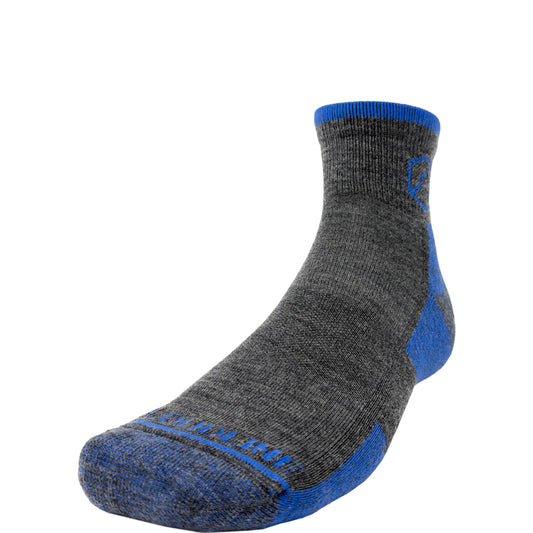
- Warm, wicking socks (again, we like merino wool)
- Gaiters to keep the snow out of your boots
- Backpack to hold your extra layers, snacks, and water
Picking a Trail
As we mentioned earlier, one of the benefits of cross-country skiing is that you can do it almost anywhere. But when you’re first getting started, you should put some thought into where you go.
First-timers may find it easiest to learn on a groomed trail. Groomed trails, like those you find at Nordic centers, ski resorts, and even some local trails, have two parallel grooves for your skis to glide in. All you have to do is propel yourself forward, and the grooves make it easy to move in the right direction.
Once you get some practice, you can take your skis into the backcountry, on hiking trails, across meadows — or anywhere else that allows it. Just know that once you’re off a groomed trail, skiing may become more challenging.
Getting Started Skiing

You don’t need to know a lot to start skiing — which is part of the beauty of the sport. Regardless, understanding how your skis work, how to get them on, and how to get up when you (inevitably) fall are all important.
Anatomy of a Ski
Cross-country skis are made to glide over the snow, but they also need to provide some “grip” to allow you to push off with each step. If you look at the underside of your skis, you’ll see a section of what looks like fish scales midway down. These grooves provide the grip you need to both push yourself forward and navigate tricky terrain. The rest of the ski is smooth, which allows you to glide. If your skis aren’t gliding well, or if they’re collecting snow underneath, you may need to apply a little bit of ski wax to the tips and tails of your skis.
How To Get Skis On
Different cross-country skis may have different types of bindings. (Bindings are what attach your boot to the ski). When you rent or buy skis, make sure you understand what type of binding your skis have and how your boots attach to those bindings. It’s also crucial, if not obvious, to make sure your boots and bindings are compatible.
One of the more common bindings is called the NNN binding, which clips over a metal bar on the toe of your boot. Getting your skis on is as simple as lining up the toe bar on your boot with the clip on your ski, pressing down with your toe, and listening for the “click” as binding clips over your toe bar.
If you’re having trouble getting your skis on, ask a rental associate for help or watch a quick YouTube tutorial for your specific type of binding.
How To Get up When You Fall
No one wants to fall, but odds are you will the first time you ski. The important thing is knowing how to get up when you do.
Again, YouTube can come in handy here (as long as you do your research before you take a tumble). The following tips can help, too:
- Untangle your skis and poles first. Try to straighten your legs with your skis parallel to each other — but perpendicular to you. Remove your pole straps from your wrists.
- If you’re wearing a heavy backpack, take it off.
- If you fall in deep powder, place your poles in the shape of an X in the snow and push off with your hands from the middle of the X. This will keep your hands from post-holing in the snow when trying to push yourself up.
- Work on getting your weight over your feet in a crouching position before attempting to stand up.
Of course, you can always unclip your skis if you’re having a hard time. Just be sure to knock out any snow from your bindings before clipping back into your skis.
Cross-Country Ski Tips and Techniques

Once you know how to get your skis on and get up when you fall, it’s time to play around on your skis. Getting a feel for the skis and poles — before attempting any techniques — is always a good idea. But once you build a little confidence at the trailhead, the following tips can help you build your skills:
- Ditch the poles (at first): While you’re getting the basics down with your legs, your poles can be distracting. Put them aside while you get the hang of moving your skis.
- Walk, slide, then glide: First, try walking with your skis to test your balance and get a feel for the equipment. Once you feel comfortable, try sliding your skis as you move. Then, practice pushing off with each step into a smooth glide.
- Keep your knees bent: As with most athletic endeavors, bent knees are key for balance and power. Keep a gentle bend in both legs as you push and glide.
- Use your poles: Like trekking poles, ski poles can help you balance on the trail. But they can also help propel you forward. While you’re skiing, hold your poles at an angle behind you — they should point toward the backs of your skis. Use the opposite pole to push off the ground as you do the same with your opposite ski.
- Stagger your skis when going downhill: When skiing downhill, stagger your legs so one ski is slightly in front of the other. This, along with a little extra bend in the knees can help you keep your balance as you slide down the hill.
- Side-step uphill: If you need to travel up a steep hill, it’s usually easiest to do so sideways. Position yourself so your skis are perpendicular to the trail and the hill is to your side. Then slowly shuffle your feet up the hill, keeping your skis parallel to one another.
Whether cross-country skiing has been on your bucket list for years or you’re only now beginning to consider it, we hope you give it a try this winter. While your favorite hiking trails may be snowed over for the next several months, we think you’ll enjoy exploring the outdoors by ski in the meantime.
Want more ideas for how to get outside this winter? Sign up for our email newsletter, and we’ll keep you updated with the latest from the Cloudline Blog.