How to Plan the Perfect Day of Snowshoeing
Hiking season doesn’t have to end when the snow starts to fall. In fact, it’s a great time for slower-paced outdoor adventures. Snowshoeing is the perfect activity to enjoy the beauty of winter on quieter trails.
If you’re new to snowshoeing, you’ll be out there in no time. It’s a beginner-friendly activity, and it’s easy on the wallet.
Don’t hibernate this winter — instead, stay active outdoors. Read on to learn how to plan the perfect day of snowshoeing.
Snowshoeing vs Hiking

If you’re an avid hiker, snowshoeing is a great way to enjoy the outdoors in the off-season. While both hiking and snowshoeing are beginner-friendly activities, there are some obvious (and not-so-obvious) differences that you’ll want to keep in mind.
Snowshoeing is (generally) more tiring than hiking.
Snowshoes help you travel over otherwise impassable terrain when the snow is really deep. But compared to walking on solid ground, snowshoeing is slower and requires more energy. Similar to hiking over sand, walking through snow means you’ll sink in a little and have to work for each step. Plus, snowshoes are heavier than regular shoes, making progress more exhausting.
Snowshoeing requires some technique.
Snowshoeing is perfectly suited to beginners, but there are a few tips to make the activity easier. The best way to become more comfortable on snowshoes is through practice, but we’ll give you some tips to try your first time out.
Snowshoeing requires more equipment.
Okay, this is a little obvious, but you’ll need snowshoes to go snowshoeing. Luckily, it’s not hard to find a pair to rent at your local gear shop or ski resort. You might also want to bring poles with you — balance is a little harder to maintain when snowshoeing.
What to Wear and Bring Snowshoeing

Snowshoeing — and really any outdoor activity — is much more enjoyable when you’re dressed for it. And because snowshoeing takes place in cold, snowy, wet conditions, it’s especially important to dress for success. Dress with each of the following in mind:
- Base layers: A warm, moisture-wicking top and bottom keep you dry, even if you sweat. Avoid cotton — once wet, it won’t dry, and it will cool your body down fast. Merino wool is an excellent, moisture-wicking option.
- Mid layers: A mid layer’s job is to insulate. Choose layers like fleece, wool, or down to keep you warm.
- Outer layers: Your outer layers should be wind- and waterproof, keeping your mid and base layers dry. While you may not wear outer layers the entire time, you should always have them on hand.
- Hat, gloves, and accessories: Wear a warm winter hat that covers your ears — or, if you run warm — an insulated headband. Wear fleece gloves or liners under waterproof gloves or mittens. A neck gaiter is a versatile piece of gear that makes all the difference when the wind picks up.
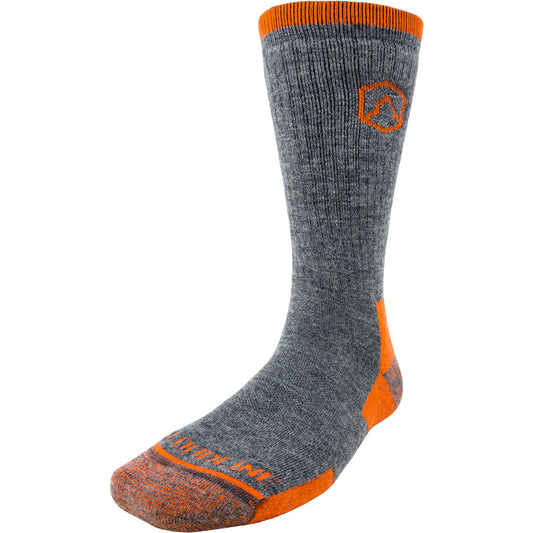
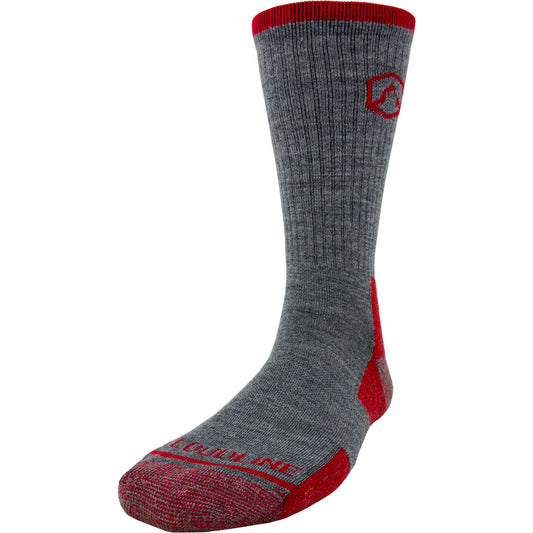
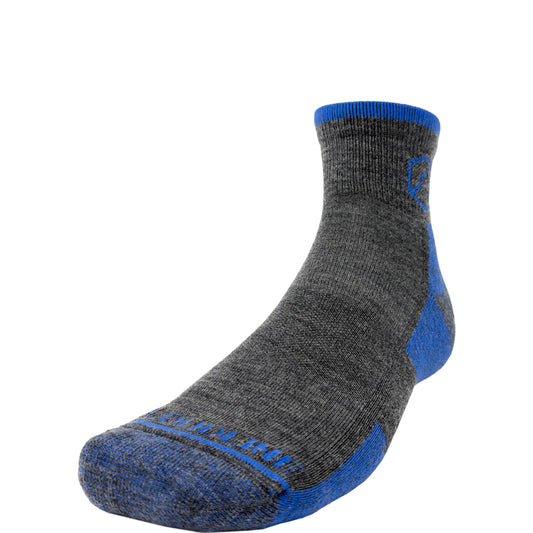
- Socks: Merino wool socks dry fast and keep your toes warm. They make excellent socks for any outdoor activity, but especially winter activities like snowshoeing.
- Boots: Unlike with hiking, you really only need boots that do two things — keep you warm and hold up to the snow. Wear waterproof boots that are warm enough for several hours on the trail.
- Snowshoes: There are several different types of snowshoes, but basic hiking snowshoes are the best place to start. You can rent a pair to see how you like them, or check out a detailed guide if you’re looking to buy.
- Other Essentials: Packing for snowshoeing is similar to packing for a hike. Be sure the following items make it into your day pack:
- Water
- Hot drink
- Extra layers
- Extra socks
- Snacks
- Sunglasses
- First Aid
- Navigation
- Flashlight
Where to Go Snowshoeing

There are endless options for places to snowshoe — as long as there’s snow, that is. Depending on your experience level, here are a few places to look for a trail:
Ski resort or Nordic centers: These places usually have groomed trails that you pay to use. The trails will probably be in good condition and will be well-marked. This is a great option for beginners who also want to rent snowshoes or try them out before purchasing.
Other groomed trails: Many parks groom some trails for snowshoeing in the winter. If possible, start with a flatter, groomed trail before moving on to a more challenging one. Check the park’s website for information on trail closures and grooming schedules.
Backcountry or off-trail travel: You don’t need to stick to trails while snowshoeing. Unlike hiking, traveling off-trail in your favorite parks won’t have detrimental effects to vegetation or soil. Snowshoeing off of a groomed or well-traveled trail is an exhilarating adventure, but requires a little more effort. Only travel off-trail if you are familiar with the area and confident in your navigation skills.
Avoid ski tracks: Cross-country skiers and snowshoers often share winter trails. Groomed trails might even have specific lanes for each activity. Be careful to avoid stepping in ski tracks or ski lanes, as it can ruin the surface for skiers.
Snowshoeing Basics

Part of the beauty of snowshoeing is that you don’t need much skill or experience to have a good time. Anyone can quickly learn and get out on an easy trail. Here are a few tips to help your first adventure go a little more smoothly:
Putting your snowshoes on: Have patience with yourself the first time you put your shoes on. Each pair of snowshoes is different, so yours will take some getting used to. Loosen all the straps all the way before trying to get your boot situated in the snowshoe. Once your foot is in the right place, tighten the straps so they’re snug.
It’s tough to put on snowshoes while wearing bulky gloves, but bare hands will get cold in a flash. Wear glove liners to keep your fingers warm and dextrous while putting on your snowshoes.
Snowshoeing on flat ground: Snowshoeing on a flat trail is intuitive. You’ll just have to get used to walking with a wider stance so you don’t trip on your snowshoes. If you’re snowshoeing with other people, give extra space on the trail so you don’t step on someone else’s snowshoes.
Snowshoeing up- and downhill: Most snowshoes have traction cleats, or crampons, that help give you traction when going uphill. Just firmly kick into the snow, putting pressure onto the balls of your feet where the crampons are located. When you go downhill, keep your poles out in front of you and your knees bent.
Getting up when you fall: Falls on snowshoes aren’t uncommon, and luckily, you’ll have a soft landing. To get up, follow these steps:
- Remove hands from wrist straps if using poles.
- Center your weight above your knees.
- If you have poles, use them to form an “X” in the snow.
- Push yourself up to standing, placing your hands in the middle of the “X.”
Pushing off the “X” keeps your hands from sinking in as you try to get yourself to your feet. If you don’t have poles, you can use your backpack instead.
Happy Snowshoeing!
Snowshoeing is the perfect winter sport. It’s great exercise, it’s easy to learn, and it’s inexpensive to get started. It also keeps you active and gets you outside during the long and dark months of winter.
Are you ready to try snowshoeing this winter? We’d love to hear about it! Tag us on Instagram with #cloudlinesocks with photos from your wintry expedition!