How to Wash Your Hiking & Backpacking Gear
For most of my adult life, I have been too afraid to buy anything insulated with down. The hefty price tag of down gear, plus how gear shop workers unfailingly mention that it needs careful cleaning attention, was enough to drive me away for a while.
But then I broke the cycle- and down, like many quality outdoor materials, is so worth the investment. Being cold-natured, I could live most of my life inside of down. After dirty trips, accidental spills and plenty of use, your favorite gear pieces will be in need of that dreaded cleaning process.
Though it can be daunting to clean your most precious gear, doing so correctly is actually not rocket science, and will preserve gear effectiveness and lifespan. Proper cleaning not only keeps your gear smelling nice and looking sharp but also revitalizes the qualities that keep you powered outdoors.
Here’s how to show some TLC to your most finicky outdoor gear, worry-free.
How to Wash Down Sleeping Bags and Jackets

Because of its lightweight, compressible and highly insulative capacity, down is a prime filling for sleeping bags, quilts, and winter coats. However, down can lose its insulating ability if not cared for correctly.
The ultimate enemy of down puff is clumping, when the down feathers stick together and lose their fluff. Clumping is caused by contact with water, improper detergents, and even drying methods. Without fluff, your down will not keep you warm, so bear in mind through the cleaning process that puff-preservation is top priority!
To wash down, you will need:
- A front-loading washing machine
- Tumble dryer with a wool or gentle cycle (lowest heat is best for down)
- Down-specific detergent, like Nikwax’s Down Wash Direct
- Clean tennis balls, or lightweight dryer balls
Important: Washing machines with center agitators are absolutely not safe for down gear! If your washing machine is not front-loading, you will need to head to a laundromat.
Once you have these tools together, its time to do a little prep work. First, clean out the detergent compartment of your washing machine to prevent contamination in your down wash.
It is also a good idea to rinse out the washing machine if you suspect that there could be detergent residue or buildup lingering inside. Remember, even a small clump in your down gear could make a significant difference when you need it most.
Next, gently wipe off the outside of your gear. Remove caked dirt and buildup with a dry washcloth.
Now, everything is ready to wash. Let start!
- Set the washing machine on a cold or gentle cycle, and carefully put your gear inside. Limit to only down gear in this load. Sleeping bags and quilts should go alone, but two jackets can go at once.
- Following the suggested amounts of your down-specific detergent, add the wash and begin cycle.
- Once the washing machine has finished, open the machine and gently press down on your gear. If you see any soapy run-off, send it through another cycle with no detergent to completely rinse. Because down gear can be dense, you might have to do this more than once. When you press down and see only clear water, it is finished rinsing.
- Very carefully transfer your gear to the dryer. Try to not let the water weight pull down on your gear because the pressure could result in clumping. It helps with large, heavy items, like sleeping bags, to rest the full wet bag on a towel while switching to the dryer.
- Add the lightweight dryer balls or tennis balls, and set the dryer on a low-heat or wool cycle.
- Check that your gear is fully dry after the first cycle. If it is not, continue using the lowest heat setting until it has completely dried.
Congratulations! Your down gear should look full and rejuvenated after a good wash and full dry. The best news? Down gear only needs to be washed once a month if used every day. Get back outside!
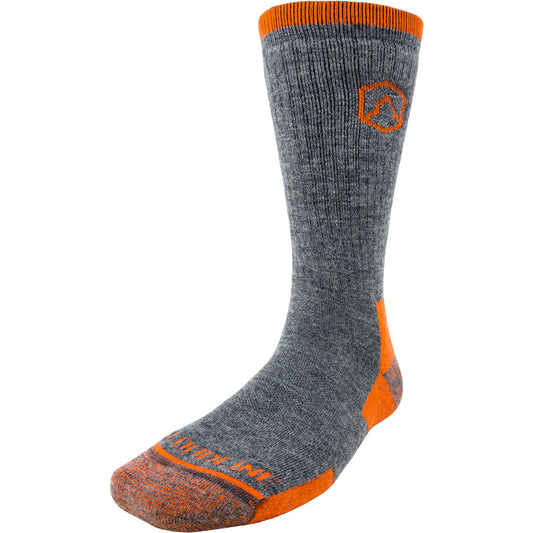
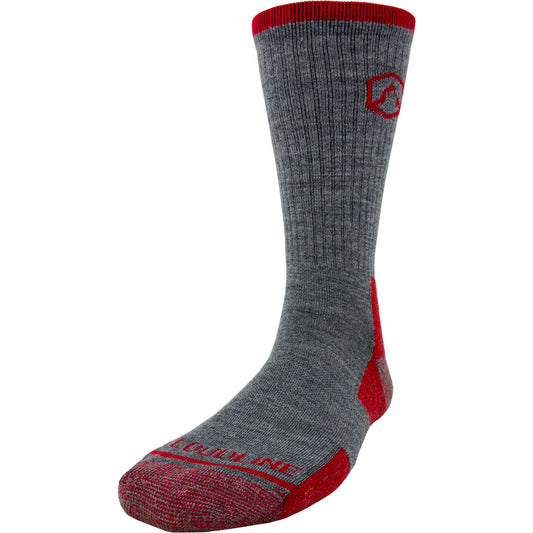
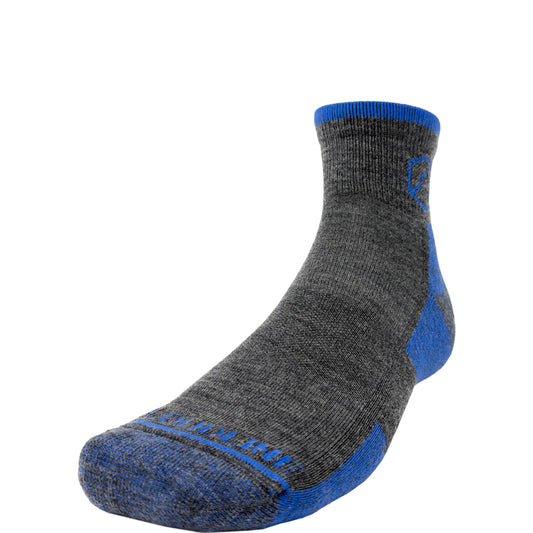
How to Wash Merino Wool Socks and Clothing

Merino wool seems magical to me. Its temperature regulating, anti-bacterial (so odor resistant!) and it keeps it's warmth when wet. For obvious reasons, wool is the ideal material for many gear items, especially clothing that has direct contact with skin. To keep your wool gear magically soft and scent-free, gather these items.
- Front-loading washing machine preferred, but not mandatory
- Clothesline/ method to evenly air dry
- Wool wash, or other bleach-free, gentle detergent
To prepare your wool gear for washing, turn it inside out and divide into dark and light colors. Be careful to not overfill the machine, as agitation can case wool to pill and wear down. Now, let’s get it clean.
- Load your washing machine and set to a cold, gentle/wool cycle. It is alright to wash multiple wool items or delicates in this wash.
- Add wool specific or gentle detergent. Be sure to check wool-specific detergent if you are washing non-wool items in this load.
- Once the cycle has finished, pull out your wool items. Flip back to outside-out.
- Hang your wool gear, or layout on a clean, dry surface to air dry. Once it has completely dried, your wool is ready to wear again!
Merino wool maintains cleanliness for much longer than most fabrics. Only wash your wool if it is really dirty- often, simply drying and airing out wool is enough to revitalize it.
How to Wash GoreTex and other Waterproof Gear

Gear with waterproofing requires special care, especially because of its importance when you find yourself outside in harsh weather. Waterproof shells, tents, jackets, pants and more can lose their water-impervious qualities when not washed correctly, putting you at risk on adventures. Thankfully, there are simple ways to wash- and even completely re-coat- waterproof gear at home. You will need:
- You guessed it. A front-loading only washing machine, and a dryer
- Waterproof safe technical wash, like Nikwax Tech Wash. If you plan to also apply a fresh waterproof coating after washing either now or in the future, you will also want spray-on treatment for post-wash.
- A shaded or vented indoor area and line to air dry
To prepare for the wash process, you will need to wipe out the detergent compartment of your washing machine to prevent contamination in the tech wash. Like when washing down, it could be beneficial to do a rinse with nothing inside of the washing machine to clear out suspected detergent residue.
With a damp or dry washcloth, gently rub away caked debris on the gear prior to washing. Ready? Here we go.
- Carefully place your gear in the washing machine. You should not wash any regular items in this load, and limit two or three small/medium items per tech wash.
- Put the recommended amount of your tech or sport wash of choice in the detergent compartment and set to a cold, gentle cycle.
- Once the cycle has finished, immediately pull out your gear out. For those wanting to add a new waterproof coating to fading gear, skip to the next step. For those just washing gear, move the gear to a dryer and set on a low or medium-low heat cycle. Unlike the other materials mentioned, waterproofed fabrics are safe to put in the dryer- heat actually helps to re-activate waterproof coatings! Once the cycle has finished, check on the gear. If it is not fully dry, complete by air drying in a shaded area.
- If you are going to spray-on a new waterproof layer, begin with the still-wet, clean gear from washing. Close and zippers, and take note of all the areas that will need to be sprayed. With jackets, be sure to not skip hoods and inside/under the arms.
- Holding the spray about 6 inches away from your garment or gear piece, carefully coat entirely with the spray, After all areas have absorbed for a few minutes, gently wipe away excess with a damp sponge or washcloth.
- Finally, place your gear in the dryer and tumble dry on low to medium-low heat for one cycle. Complete with an air dry if necessary.
Extra Tips for a Smooth Gear Washing Experience
- When cleaning almost any outdoor item, be sure to check the instructions on the tag.
- Never use dryer sheets or fabric softeners with your gear. These coat items in a thin layer of wax, which blocks sweat-wicking and inhibits breathability.
- If you notice buildup or frequent catching in a backpack or tent zipper, gently scrub with a toothbrush and plain water.
- Air-drying is almost always a safe choice when in question: plus, it saves energy!
- Never pack your gear away before it has completely dried. When you return from a trip, check to ensure that all of your items are fully dry. Wet gear that sits it gear that molds.
- Washing gear pieces can seem tricky and complicated at first, but understanding the steps and reasons why there are such specific instructions make it easy. With plenty of material-specific cleaners at local gear shops and available online, keeping your outdoor gear adventure-ready is simpler than ever.
Enjoy the process of caring for the gear that cares for you outside, knowing that there are many more adventures ahead!
Happy sudsing and scrubbing.