Finding Comfort on the Trail: How to Pack and Wear Your Backpack Like a Pro
If you’ve ever gone backpacking with a poorly packed bag, you know how painful it can be. You might even think hiking miles on the trail in relative comfort is an impossible feat, no matter how much you’ve prepared physically.
We’ve all been there. When frustration kicks in and you just want to get out the door, you may simply stuff everything in your back, strap it on without making any adjustments, and go.
Things could start out okay, but after a mile or two, your body starts to protest. The good news? There’s a better way.
A comfortable and enjoyable backpacking trip starts with a well-packed backpack and knowing how to wear it properly. Trust us, it’s worth a little extra time getting these things right. Your back and shoulders will thank you.
Not sure how to properly pack your backpack? You’re in the right place — let’s dive in.
Step 1: Gather and Separate Your Gear
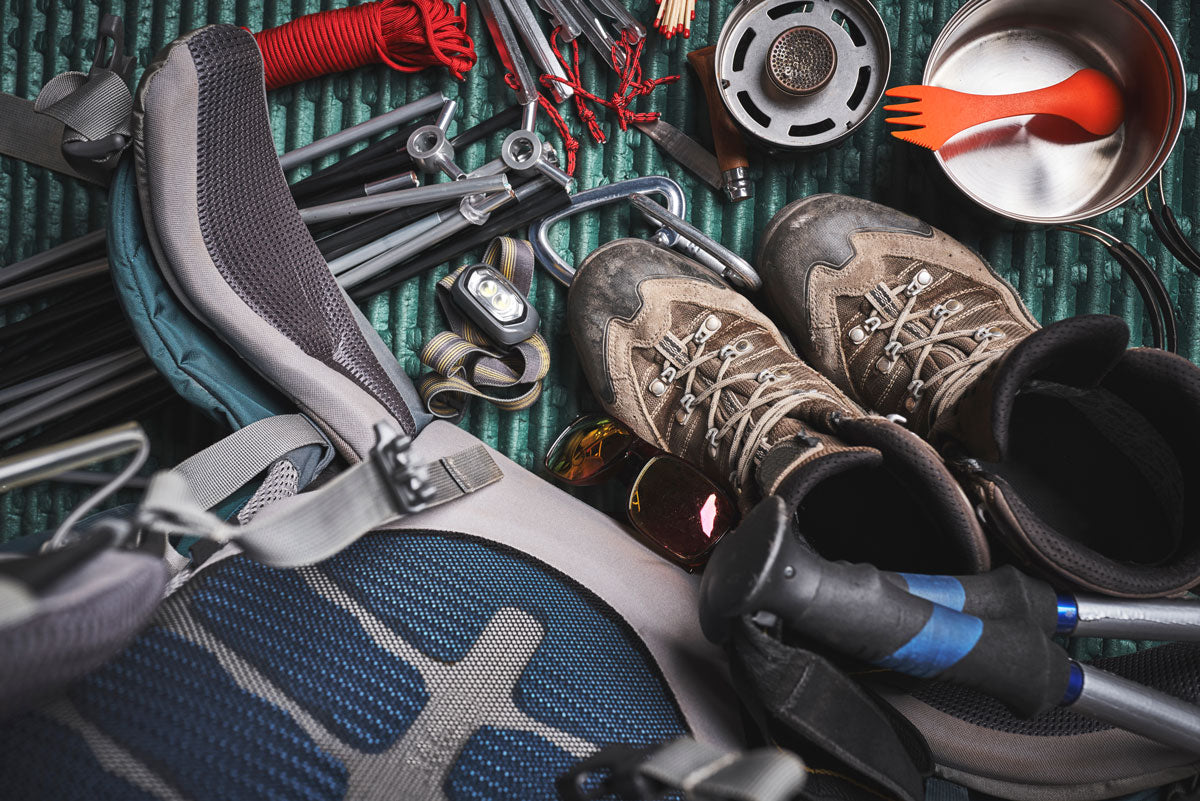
Lay out your gear on the floor, where you can easily arrange it and see it all. Run through your packing list, making sure you have the 10 essentials. Double-check that everything is functional and in good repair. Next, divide your gear into five piles based on the following categories:
- Sleep System: Your sleep system includes things like your sleeping pad and bag or quilt. These items are light but bulky, and you probably won’t need them until you make camp.
- Heavy, infrequently used items: This category includes things like your food, extra water, cooking set, stove, and bear canister. Like your sleep system, you probably won’t need these items until you set up camp.
- Lightweight, soft, infrequently used items: Everything else light and flexible that you won’t need throughout the day, like your clothes and tent, can fill out gaps in the remainder of the bag’s main compartment.
- Frequently-used items: These include your snacks, water, filtration system, sun protection, rain and insulating layers, map, camera, first aid kit, trowel, and anything else you want within easy reach while you hike.
- Outside-of-pack items: Depending on your preferences and where you’re going, you may or may not have any gear in this category. Typical items may include trekking poles, bear spray, or even water shoes. You’ll attach these items to the outside of your pack at the very end, so you can set them aside for now.
With your gear laid out in these five piles, you can begin packing your bag.
Step 2: Pack Your Bag (In the Right Order)

Start by looking at the bottom of your backpack. Some packs have a special compartment near the bottom for your sleeping bag. Whether you choose to compartmentalize your sleep gear or not, this is where it goes.
Try to center this gear in the bottom of your pack, stuffing it tightly enough to evenly distribute the weight and avoid empty spaces. This soft, light foundation will support your lumbar region and help the rest of your gear sit in a comfortable and stable position on your back.
Next, pack the heavy and awkwardly shaped items you won’t need to access on the go. Position the heaviest items closest to your back in order to keep the bag from pulling you backward. Pack the heaviest pieces first, and fill in the spaces around them evenly with others.
Then grab some of your light, flexible items to fill in empty spaces and cushion the heavier gear. Once everything is packed inside tightly, top it off with any leftover light items.
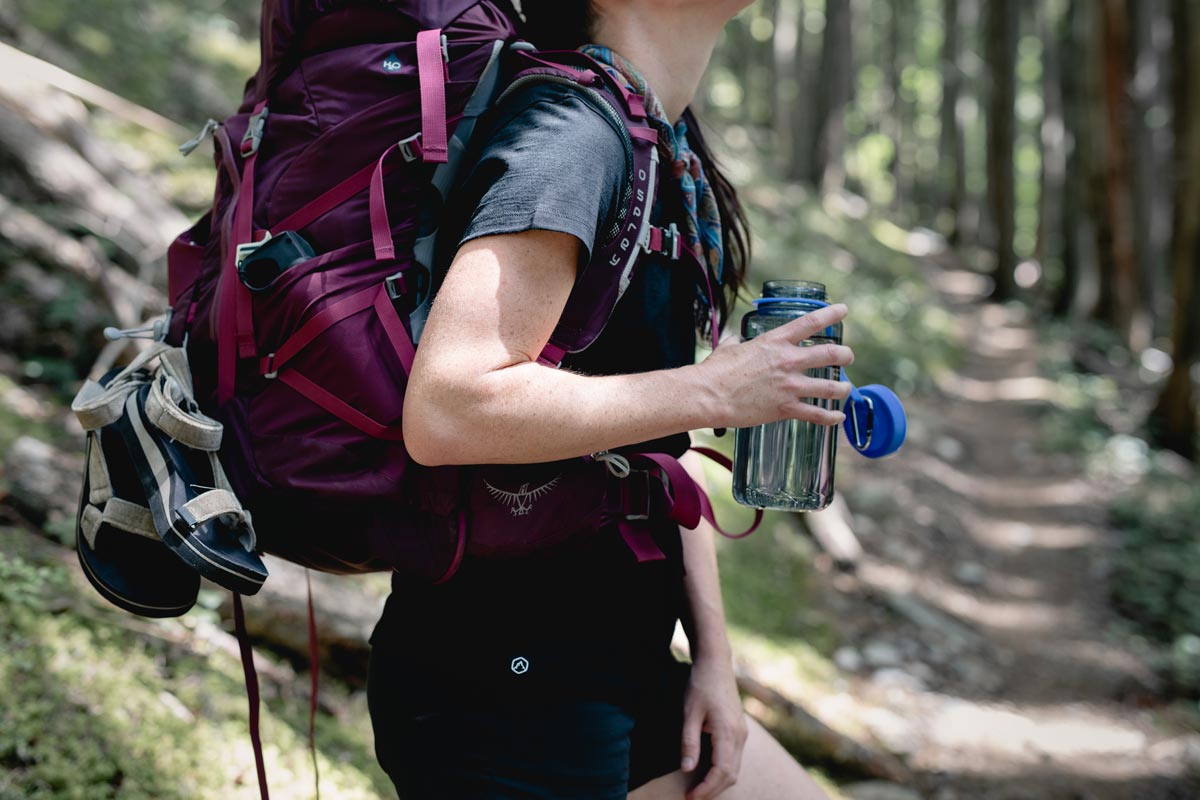
With the main compartment packed, you can cinch the bag’s compression straps and take stock of your bag’s outer pockets. It’s common to have two water bottle pockets — one on each side — and a variety of other zippered and elastic mesh pockets. Many packs also have a brain, a large zippered pocket that sits on top of your pack’s main compartment. All of these pockets are ideal for stashing that fourth category of gear — the stuff you’ll need quick access to at any time of day.
It’s up to you to decide how to distribute your gear between these pockets. Some hikers like to keep snacks, maps, phones, and cameras in hip pockets, which are typically the easiest to access. Other items, like rain jackets or sunscreen, don’t necessarily need to be as accessible — because when you need them, you’ll likely be taking a break anyway.
Pro Tip: Hold off from attaching any gear to the outside of your pack just yet. It’ll be easier to make adjustments to your bag’s contents and straps before doing so, so wait on attaching it until the very end.
Step 3: Try On Your Pack
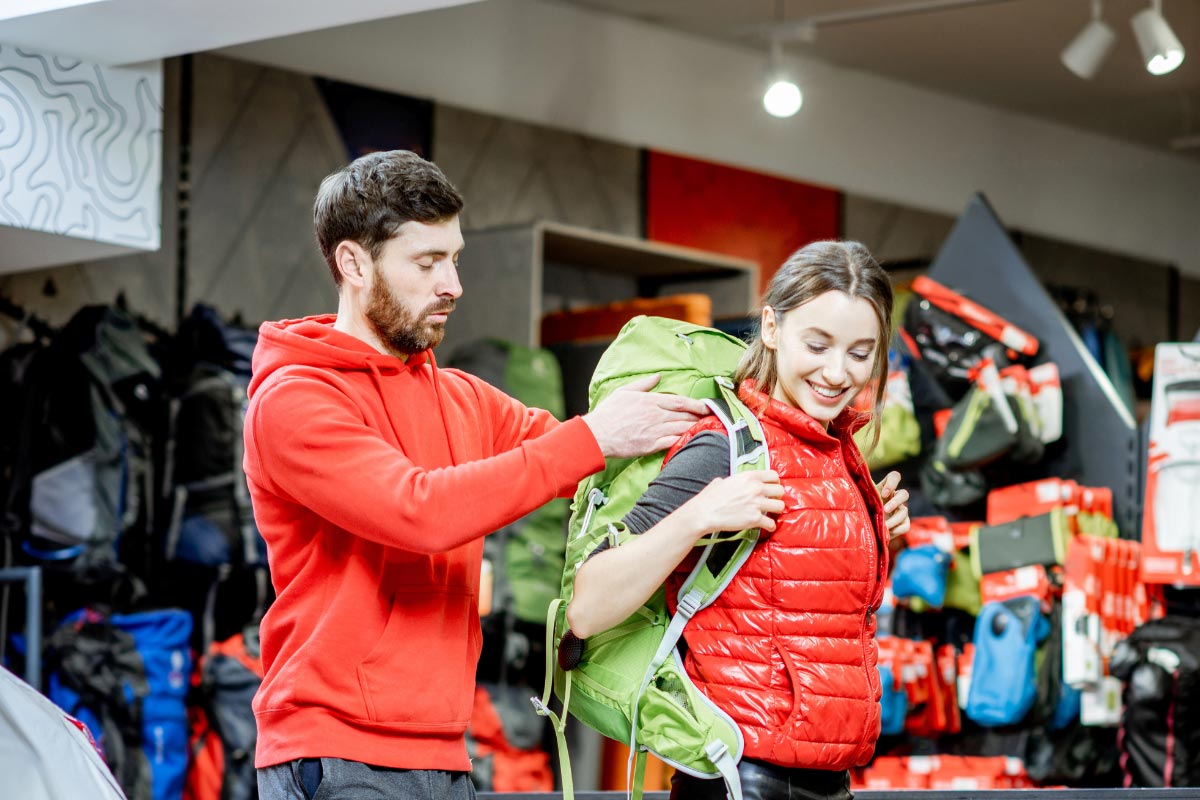
With your bag packed and ready, it’s time to try it on and make sure it sits comfortably on your body.
Close all your bag’s compartments and make sure everything is securely in place. This might involve tightening some of your bag’s compression straps so nothing shifts around inside your pack. The bag and its contents should feel dense and secure.
Next, loosen the following straps: the hip belt, shoulder straps, chest or sternum strap, and load lifters (these sit just above the top of the shoulder straps).
Place your feet hip-width apart, planted firmly, with slightly bent knees. Grabbing the top loop on your backpack, pull your pack up to rest momentarily on one of your thighs. Then slide one arm through a shoulder strap before leaning forward and swinging the pack onto your back. Slide your other arm through the other shoulder strap as you do this.
Step 4: Adjust Your Pack’s Straps
With your pack on your back, the first strap to focus on is your hip belt. Hike up the bag and fasten the belt so it hugs your hip bones. Tighten the belt straps so it feels snug but not uncomfortable. Remember, most of your pack’s weight should sit on your hips, so it’s important to get these adjustments right before moving on to the other straps on your backpack.
Next up, adjust the shoulder straps. These are a little more straightforward — just tighten them until they feel comfortable. But don’t tighten them so much that you feel a strain on your shoulders or back. Be sure you adjust the two shoulder straps evenly.
After you get your shoulder straps feeling comfortable, adjust your load lifters. Find these at the top of your shoulder straps. Pull the straps slowly to tighten them, bringing the top of the backpack closer to your back to help you feel more stable. Have a friend help you adjust them — or look in a mirror — so that the straps angle up from your shoulders to the top of the pack at about a 45-degree angle.
Next, adjust your sternum strap. This strap buckles across your chest, slightly below your clavicles. Don’t tighten it too much — you want to make sure your arms still have a full range of motion.
Walk around a little with your backpack on, making small adjustments as needed. Finally, attach any gear you plan to carry outside your pack and make sure it doesn’t put you off balance or get in your way.
Hit the Trail

With everything packed, compressed, and adjusted, you and your backpack are ready for the trail. But don’t be afraid to make adjustments throughout your trip if something isn’t feeling right. After all, a fit that feels good after your first mile may not feel so good 10 miles in. Remember, hiking with a well-fitting backpack is well worth the little extra time spent packing well and making the necessary adjustments.
Want more backpacking advice, tips, and inspiration delivered to your inbox?
Subscribe to the Cloudline newsletter, and we’ll keep you updated with all our latest blog posts.