
A Beginner's Guide to the 10 Essentials
Carry These Essentials on Every Hike

Have you ever passed a hiker on the trail who looked prepared to summit K2 at any moment? I know I have, even on easy trails with the city in clear visibility. I have also watched as tourists in sandals and business casual attire embarked into the Grand Canyon, armed with Venti Starbucks drinks instead of water.
It can seem difficult to strike a balance between overconcern and under preparation. That line was blurry to me when I began hiking alone, often resulting in me placing myself in needlessly uncomfortable and unsafe situations. What seemed missing was a description of the necessities of safe hiking, presented with reason and practicality for the beginner hiker in mind.
Since my days of rushing out on an adventure only to realize that I did not bring enough water or completely forgot sunscreen, I have been taught by experienced outdoors people and by personal experiences. I feel far more confident in my own abilities, knowing that I am prepared to focus on challenging hikes and the beauty around me. With a basic understanding of the 10 Essentials, anyone can start hiking safely and confidently. Here are the things that should get packed into every bag before hitting the trail, hopefully without costing one of your arms.
1. Navigation
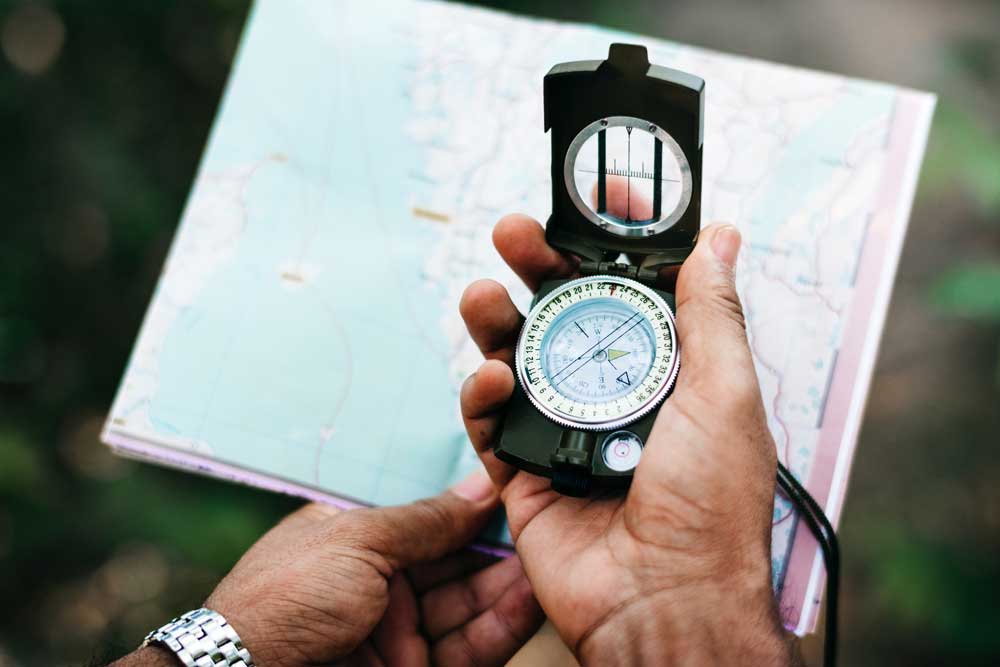
Navigation is essential because getting lost is possible. How will you know which fork to take without a sign or a map? Sometimes trails are not well marked, and game trails, old roads, and water runoffs can look like the path. Depending on landmarks is not safe because the weather can hide your only means of finding your way.
Packing appropriate navigation tools means having a trail map accessible at any point. In many park areas, you can find maps for hiking at Visitor’s Centers. Be careful, though: maps of National Parks that show the general layout of roads and areas are not appropriate for hiking. Find a map that shows the geography and distances of the trail you will be taking. With a map, taking a compass with you is useful if you find yourself off of the trail.
Try taking pictures on your phone if there is a detailed map at the trailhead, making sure that your phone has a full battery and/or the capability to charge during the hike. Another free and simple resource, caltopo.com, has printable topographical maps for a wide range of locations. Simply find your hike, and print sections at a zoom level that shows elevation changes, geographical features, and any junctions along the way.
Lastly, downloading a GPS app is a good option for beginning hikers willing to spend some money for the sake of convenience. Gaia GPS is accurate and easy to use, allowing you to download sections of hikes and track your hikes.
Before launching into a wilderness setting, be sure to understand basic navigation and orienteering skills. Once your hiking has taken you to this level, consider taking a course from REI to learn the ropes for wilderness exploring. Whichever option you choose, taking navigation is necessary to be safe while hiking.
2. Light Source
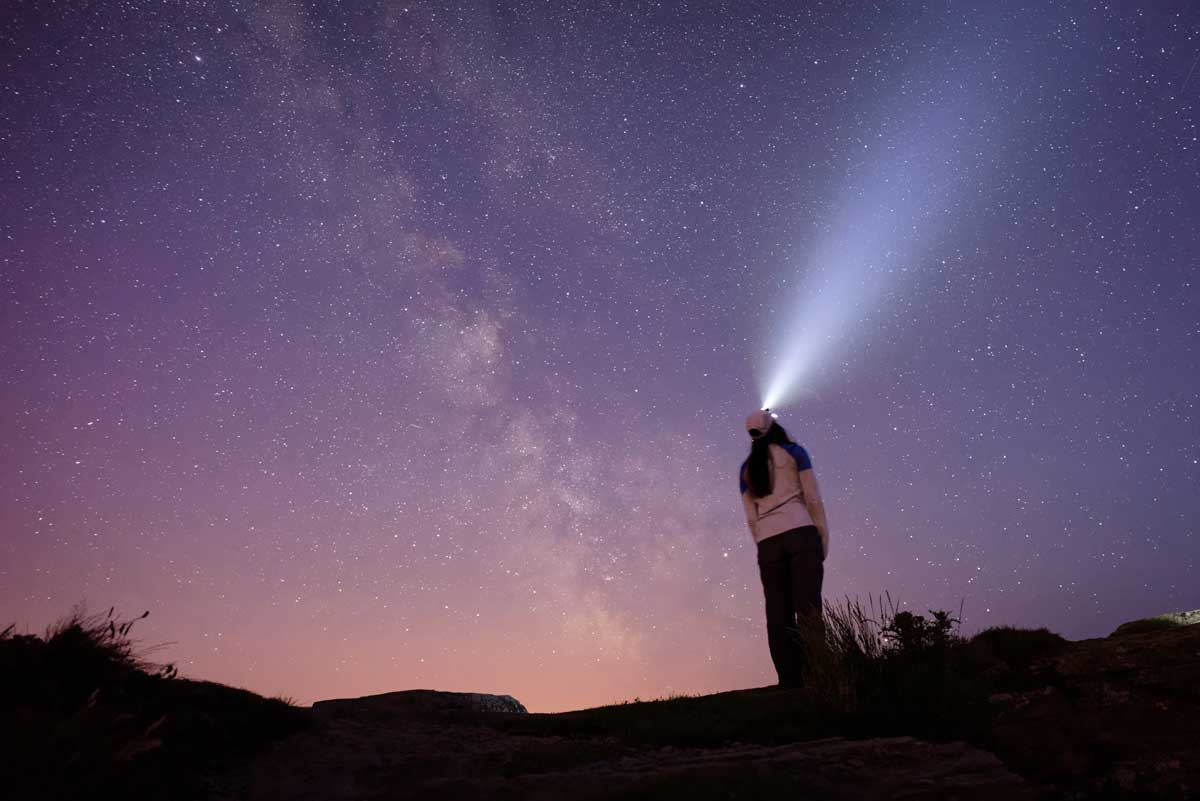
In case you are out later than anticipated, having a light source is crucial. Headlamps are by far the most practical choice, and typically can be found for as little as $20.00. If you see yourself hiking often, taking sunrise or sunset hikes, or moving into more advanced backcountry trips, I would suggest buying a headlamp at the beginning. However, if you are not prepared to commit quite yet, taking a flashlight is also safe. Regardless of your light source, be sure to pack extra batteries.
3. Sun Protection
I rarely wore sunscreen when I lived at a low altitude. Moving to the Mile High City, I was shocked by the difference in the impact of the sun on my skin. This is true any time you gain elevation, and even if you do not burn, unprotected skin is damaged by the sun. Because hiking requires time exposed to the elements at likely high elevations, being prepared to protect yourself from the sun is necessary.
Essential gear to have includes sunscreen, sunglasses and protective clothing. Some of my favorite items to bring along are a wide-brim sun hat, a UV protective gaiter, and SPF lip balm. Do not forget to reapply as you hike!
4. First Aid
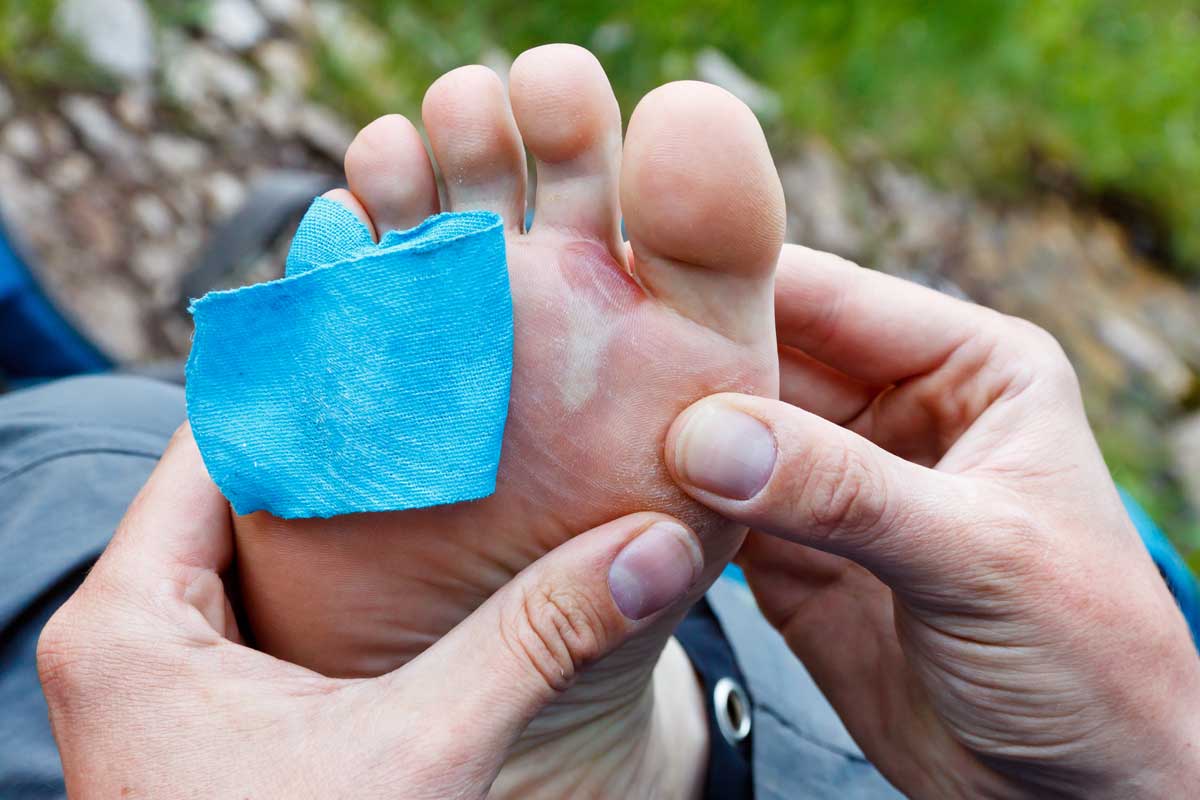
There are two options for carrying first aid while hiking. First, you can buy a basic First Aid kit for hiking and add in any personal medications or needs, or you can build your own. For beginning hikers, purchasing a pre-made kit is a simple option. However, if you are looking to spend more time preparing to save some money, it is possible to build your own. When creating your own kit, a good method is to check the contents of a few pre-made kits. Using the contents as a guide, you can build a kit of your own. Be sure to keep it all in an easily recognizable, accessible, and leak proof bag. Necessities for a day hiking first aid bag include:
- Personal medication
- Blister care
- Insect repellent
- Nitrile gloves
- Adhesive bandages (in assorted sizes)
- Gauze and adhesive tape
- Disinfectant for open cuts and wounds
- Pen and paper
- Electrolyte replenishment (powdered Country Time lemonade is a great budget option)
5. Repair Kit
A repair kit is important to bring along in case you have problems with your gear. A broken zipper on a rain jacket can mean soaking wet clothes and an uncomfortable hike. Putting together your own repair kit is simple, and requires items you likely have at home now. Be sure to include:
- Pliers or a Multi-Tool for zippers on bags and clothing
- Duct Tape to patch tears and holes (take some off of the roll to save your space)
- Lighter to stop frayed edges from unraveling
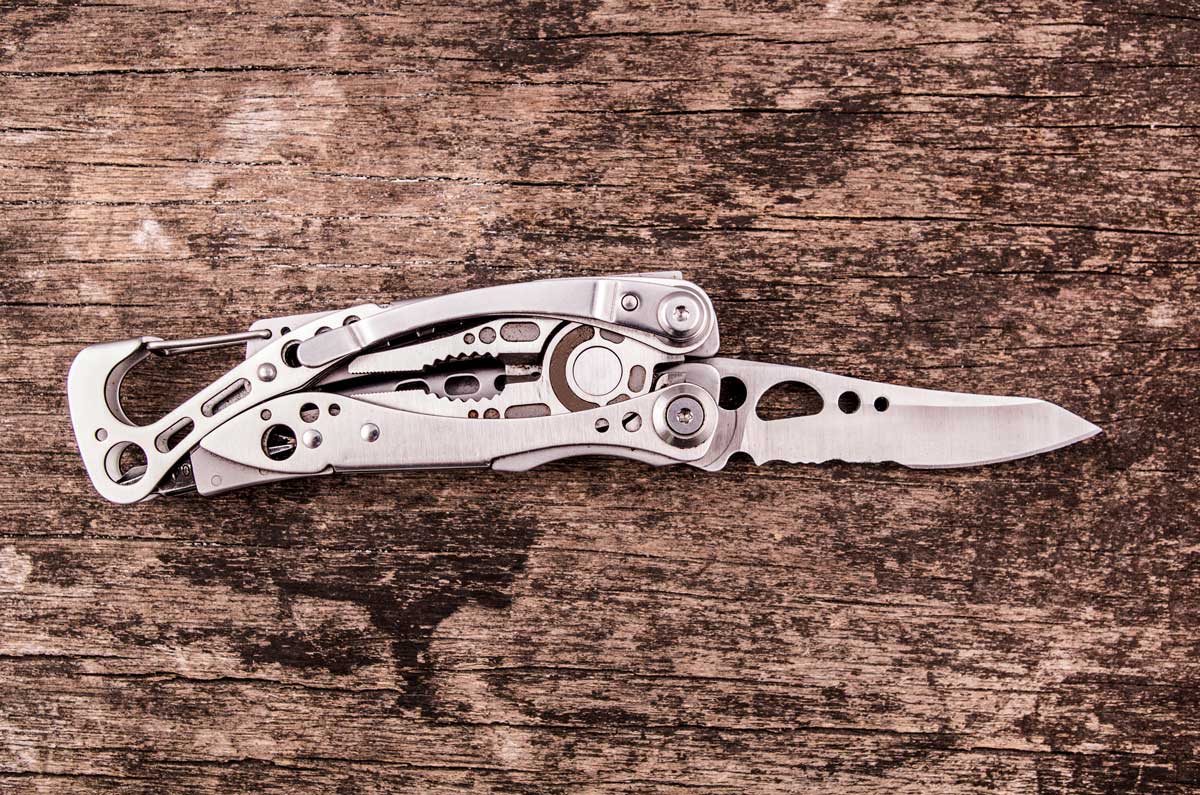
- Knives are useful for repairing gear, making food, and getting kindling for fire among other uses. Taking a pocket knife is best practice, whether it is a part of a multi-tool or a single blade.
6. Fire
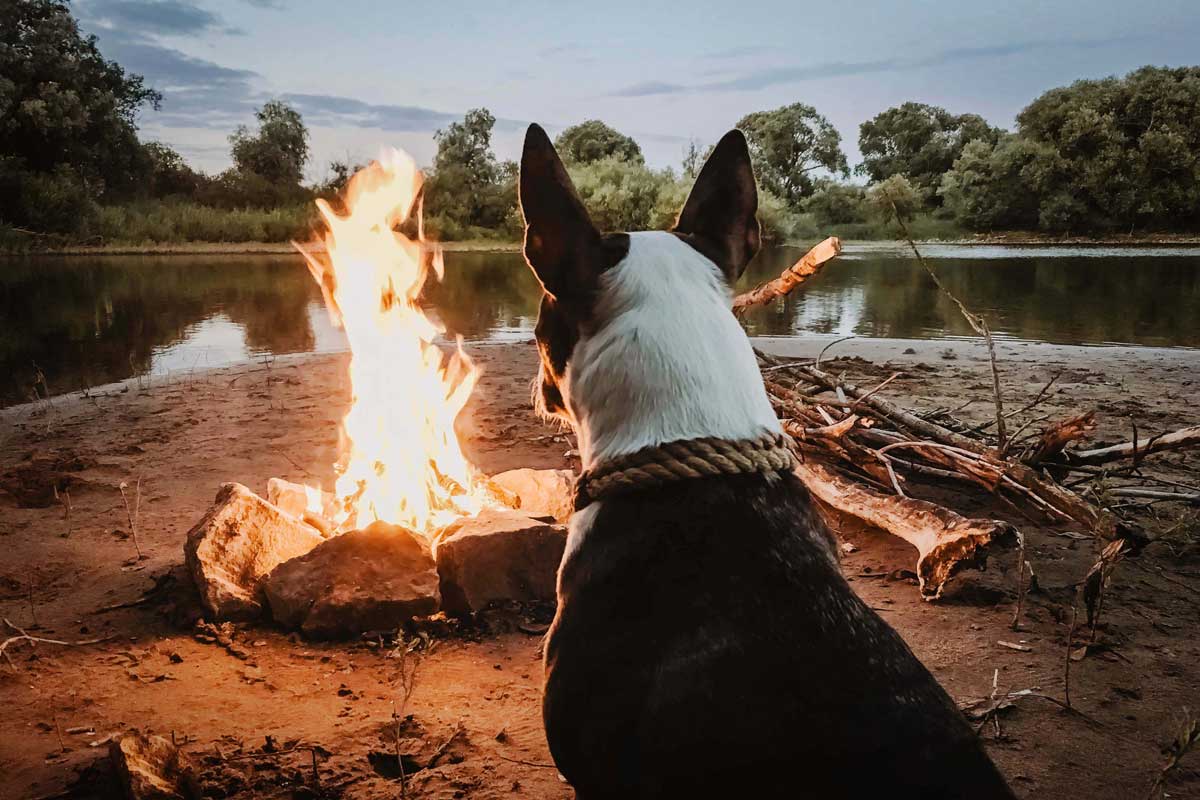
Even if you are only planning on a day hike, the ability to make a fire is necessary in case your plans go awry. When lost or stranded, a fire will keep you warm and can also purify water, heat food or draw attention to your location. To be prepared to build a fire, pack a lighter, matches in a waterproof container, or a camp stove in your day pack. Get in the habit of bringing a backup method along, should one lighter break or your matches not spark. If you are hiking in a wet area without dry wood, throw a fire starter or bag of dry kindling in your pack, too.
Pro-Tip: prescription bottles are a good size for matches and keep contents completely dry.
7. Shelter

Packing an emergency shelter might seem a little dramatic to a new hiker, but it is a small step that could save your life in an unexpected situation. Going out without a form of shelter is irresponsible, especially considering the simple options available!
One time, my husband and I were hiking when a hail storm came crashing in. The weather report earlier that day did not show the storm, but thick balls of ice smashed through the trees for almost an hour. Thankfully, my husband and I had a shelter that we set up and took refuge beneath, occasionally pushing the heavy piles of hail off of the sagging top. Under the shelter we put on our extra layers and made hot tea, warming ourselves after the dramatic drop in temperature. By the time we made it back to our car, the hail had turned to icy cold rain. Thinking back, I can barely imagine what we would have done without the shelter. At the least, it kept us dry, protected, and able to gather ourselves for a hasty return.
An emergency shelter can be a tent, but only if carried in your pack with you. For the budget beginner, extra-large trash bags are another option to stay dry temporarily. To me, the best option is this SOL Emergency Bivy. Not only is it waterproof and light, but it reflects 90% of your body heat to keep you warm. If the material tears, it can easily be repaired with duct tape. Best of all, this basic bivy is under $20.00. The sealed shape offers complete protection that emergency blankets do not. To me, this is a piece of gear highly worth the investment!
8. Extra Food
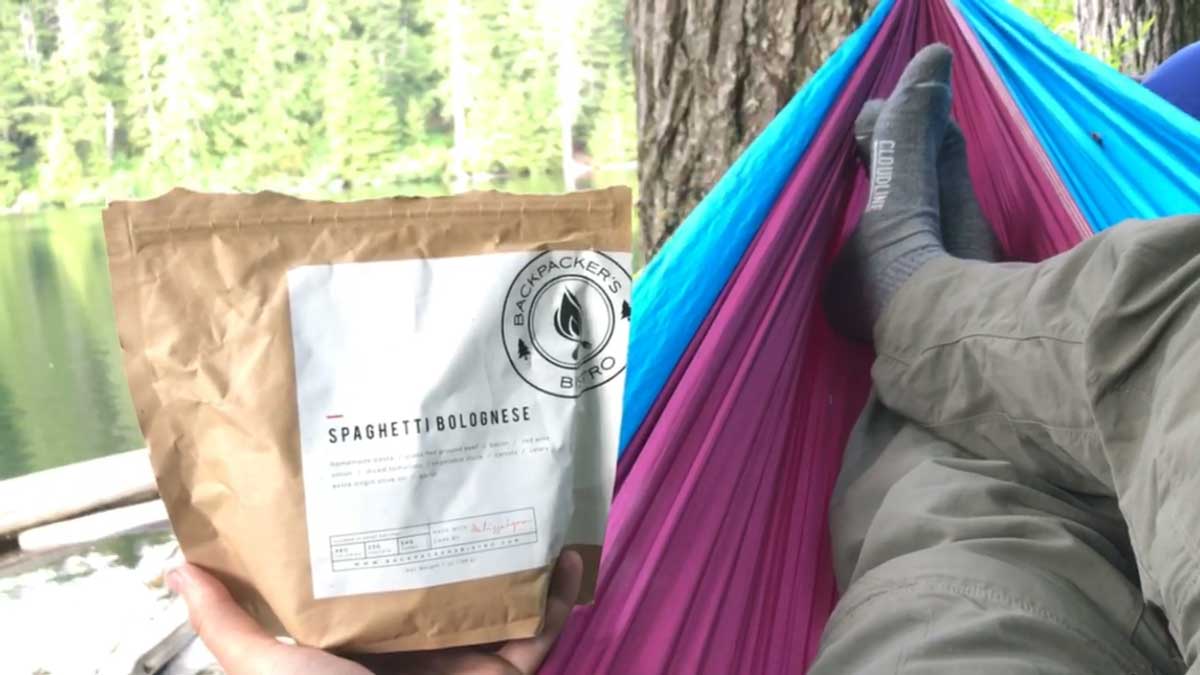
As a general rule, bring more food than you think you should take. You should have snacks for the trail, plus food set aside for emergencies. Your extra food should be items that keep well, like granola, jerky, or dried fruit. Though it might be tempting to munch away, keep your extra food as extra food.
Remember that you will be burning calories, so pack more snacks than you would for a typical day.
9. Extra Water/Purification

Most hikers need to drink half a liter of water every hour in non-extreme conditions. Typically, it is best to carry at least two liters of water at a time. Make sure to begin your hike with two full liters of potable water. You can carry additional clean water in bladders, which does not require a filter but adds weight and takes up considerable space in your daypack. For water purification, there are a few methods, but the smallest and cheapest option is these iodine tablets.
Other methods of purification include boiling with a camp stove, pump filters, or squeeze systems. These are great options for hikers looking to go on a multi-day trip, but are also more costly and take up more pack space. Make sure you fully understand the system you choose and follow instructions carefully to prevent contamination.
10. Layers
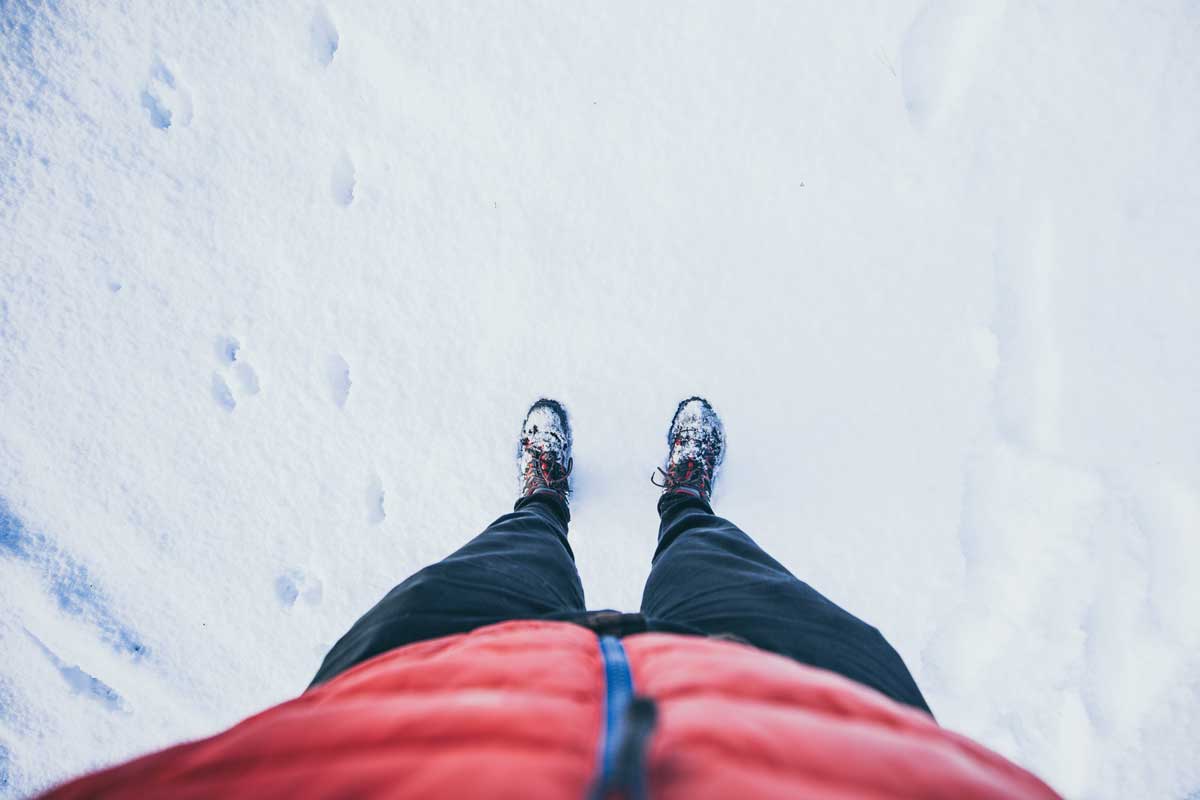
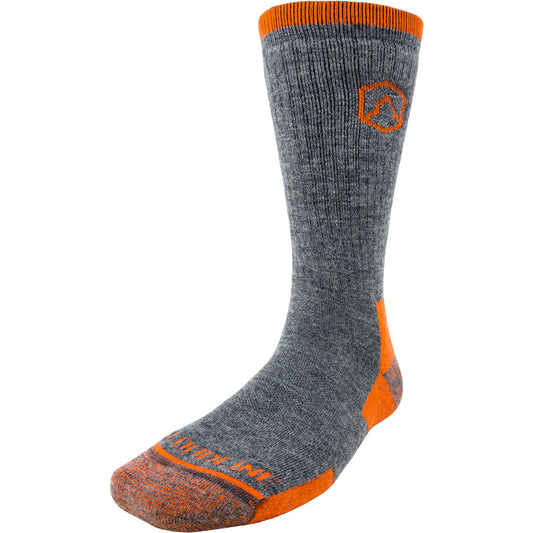
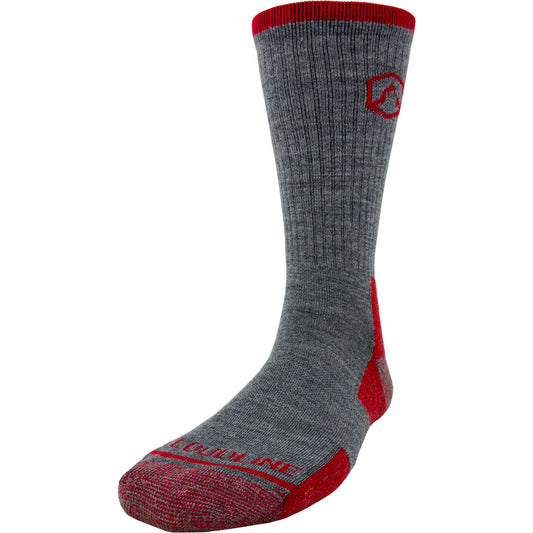
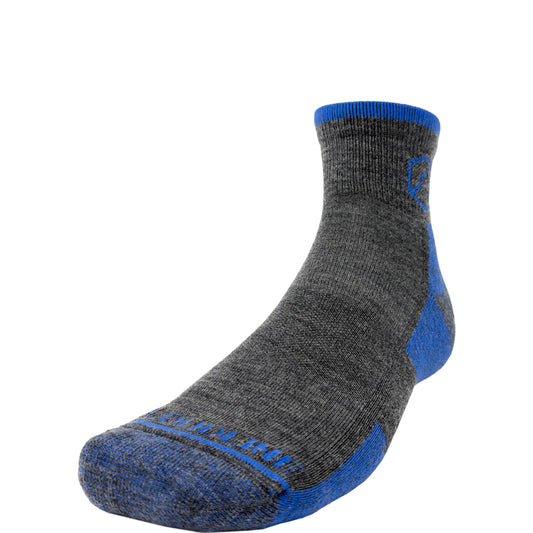
Last but certainly not least, you should never begin a hike without proper clothing. Your layers should be made out of a material that insulates body heat even when wet, like polyester or wool. Cotton will not insulate your heat after getting wet, making it a bad choice for hikers. Wetness does not just come from rain or external elements, but also from your sweat: so just because the day is sunny and warm does not mean that cotton is good for hiking. A long-sleeved base layer that wicks moisture is a necessity to have in your pack, along with a warmer jacket/sweater layer for additional warmth in colder areas and times of the year. Always carry a fully waterproof rain jacket when hiking. This jacket will act as a final layer of insulation when stacked on the others and should keep your upper body totally dry if the need arises. Lastly, accessories like a beanie, a scarf, gloves, and extra wool socks are crucial to bring along when needed. Though temperatures might be warm during the day, make yourself prepared to be outside after sunset with the worst probable weather. Remember, it is better to overpack than to under pack!
Beginning to hike is so exciting, and can also be intimidating. With these 10 essentials, you can confidently and responsibly enjoy the beautiful outdoors. Striking a balance means taking every essential, and tailoring the rest to fit your unique body and hiking situation. Stay tuned for more articles to help you get out into nature!

1 comment
GREAT ideas