TLC for Your Hiking Feet: How to Keep Your Feet Happy on the Trail
There’s nothing like a good, long hike to satisfy your adventurous soul. Working hard to reach an awe-inspiring view - an alpine lake, hidden waterfall, or epic peak - is just the beginning of what makes hiking so rewarding. But it’s not always a walk in the park. If you’ve suffered from blisters, you know that the backcountry’s charms are hard to enjoy with raw, aching feet.
Hot spots, blisters, and soreness can transform a stellar day in the mountains into a miserable, painful, mess. Luckily, there are plenty of ways to keep your feet feeling fresh and strong - before, during, and after your hike. Follow these tricks to make sure you’re caring for your feet - so they can keep taking you on exhilarating outdoor adventures.

Choose the Best Socks and Footwear for Your Hike
Having the right socks, shoes, and even insoles for your feet is essential, especially for long distances and strenuous trips. It’s worth taking a closer look at what’s supporting your feet when you’re logging lots of miles on the trail.
Socks
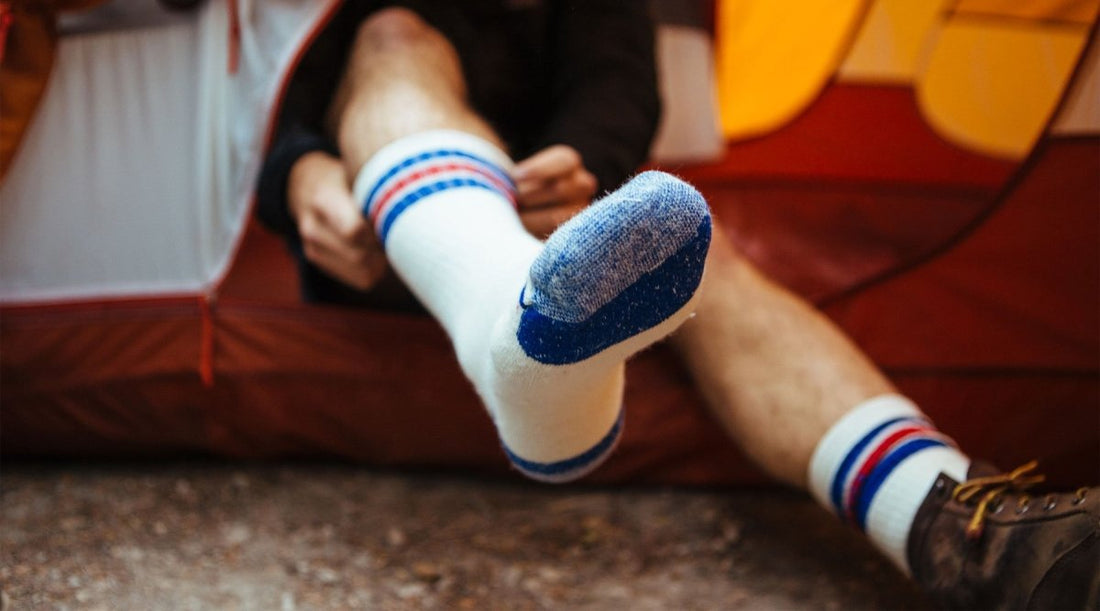
First, you’ll want a pair of socks that fits well and dries fast. You shouldn’t have any pressure, bunching, or creasing in your socks when you put on your shoes. Good hiking socks, no matter the style, should be comfortable, durable, and breathable. Merino wool hiking socks wick moisture away from your feet, keeping them cool and dry.
For really hot days, try a pair of ultralight merino wool hiking socks. If you prefer more cushion or need a pair for colder weather, medium cushion merino wool hiking socks will do the trick. If you’re particularly prone to sore feet, you might consider hiking in merino wool compression socks. They help relieve soreness by stimulating blood flow and can even aid in a quicker recovery.
Whatever socks you choose, make sure they dry fast, wick sweat, and feel good. Comfortable hiking socks are one of your best allies when taking care of your feet on the trail.
Footwear
When considering your hiking footwear, think about what causes blisters: pressure, friction, and moisture. Make sure your hiking shoes don’t pinch or rub uncomfortably, and be wise about breaking in new gear. Some materials will take a while to form to your feet, so be sure to break in your shoes before you strike out on a long-distance trail.
If your feet tend to sweat a lot, choose shoes or boots that aren’t totally waterproof (and allow your feet to breathe). Depending on where you’re hiking, you can probably get away without a heavy-duty, fully waterproof boot. Many hikers prefer the breathability and comfort of a lighter trail shoe. Just make sure you choose footwear that feels right for you.
Insoles
If your feet always get achy after hikes, check out the insole or insert of your shoe. If you’ve never had your feet properly measured and checked, go to the footwear section of your local gear shop and have an associate check your foot shape and pressure points. In addition to suggesting boots and shoes, they can help you find inserts to fortify the shoes you already have.

Get Your Feet (And First Aid Kit) Ready for the Trail
Your feet only need a little bit of pre-hike prep, but don’t skip out on these important steps.
Start by clipping your toenails. Long nails can cause serious pain, especially on downhill sections of trail when your foot slides forward into the toe of your boot. Clip your nails short, and make sure they’re clean to keep fungus, infections, and general stinkiness away.
If you’re covering a lot of miles - or if you’re really prone to blisters - applying anti-chafe cream is an excellent idea. Rub your clean feet with a little coconut oil for an all-natural, anti-bacterial alternative that moisturizes while it lubricates.
Before heading out, make sure you stock your first aid kit with the necessary foot care items. You’ll want to bring rubber gloves, gauze, iodine or alcohol wipes, antibiotic ointment, tape, moleskin, and molefoam. There are tons of other blister-treating products like gel pads and lubricating creams - find what works for you, and stock up. And finally, if you’re going on an extended trip, a pair of nail clippers can be a life saver.
On-the-Trail Foot Care
With the right footwear, socks, and preparation, foot care on the trail is all about keeping your feet dry, clean, and blister-free.
To review: Blisters are the result of (at least) one of three causes:
- Pressure: A tight shoe or a bunch in your sock can create uncomfortable pressure.
- Moisture: Wet, soft, sweaty skin is more susceptible to irritation.
- Friction: Shearing forces separate the layers of skin, allowing fluid to get between them.
Here are some tips for addressing each of these issues:
Before heading out on the trail, make sure your socks and shoes are fitting comfortably to avoid any uncomfortable pressure. Even a tiny wrinkle in your sock can lead to a hot spot, so take care of any discomfort as it appears.
Choosing the right hiking socks is the first step to managing moisture, but there are also some things you can do on the trail to help:
- On breaks, pull your feet out of your boots and allow them to air out. Airing out your feet lets them dry while giving you a chance to check on any potential problem areas. You can also switch out socks if they’re wet and allow the skin beneath to breathe.
- Bring along sandals if you’ll be crossing any streams or staying out overnight. On a multi-day trip, wear your sandals at camp to allow your feet and your boots some time to air dry.
- Stow a pack towel in your backpack for any trails with water crossings. Use the towel to dry your wet feet before putting your socks and shoes back on.
To manage friction, stop and tape any hot spots that you feel beginning to form. Band-aids, moleskin, or kinetic tape all work well to cover the area and prevent additional rubbing. Do this as soon as you feel any sign of friction to prevent hot spots from turning into blisters.

If you do get a blister...
Doing all you can to take care of your feet while hiking is crucial. But sometimes, even the best preparation isn’t enough - and you find yourself on the trail with a painful blister. Hopefully, you don’t get to this point, but if you do, here’s how to handle it:
For a small blister, cut a doughnut-shaped piece of adhesive foam (like molefoam) and place it around your blister. This eliminates friction on the existing blister without covering the tender area with uncomfortable adhesive.
If you manage to get a big blister - one that’s too painful to manage with foam or is bigger than a nickel - you’ll need to drain it. Generally, it’s not smart to drain small blisters, because you can treat them in other ways without risking infection. But if you’ve got a big enough blister that requires draining, try to keep everything as sanitary as possible while following these steps:
- Wash your hands and put on rubber gloves.
- Clean your skin around the blister.
- Sterilize a needle with alcohol, iodine, or high heat.
- Prick the blister near its base, allowing it to drain.
- Apply antibiotic ointment and sterile gauze to the area.
- Place a doughnut-shaped piece of foam over the gauze and around the blister (as described above).
After treating any blister, check it often for any changes or signs of infection.

Post-Hike Foot Care
After your hike, don’t neglect your feet - they’re likely tired, sore, and in need of some TLC.
To start, do some basic foot, ankle, and calf stretches to ease any soreness. Make sure your muscles are warm before stretching - it’s best to stretch immediately after (or even during) your hike.
Next, soak your feet in cold water (or an icy lake, if you’re in the backcountry!). Cold water helps reduce inflammation and pain in your muscles. You’ll also want to clean your feet, and good soak helps dislodge dirt and sweat, too.
You might add lotion to dry, cracked, feet, or continue to treat any blisters that cropped up on your hike.
After cleaning and moisturizing, a good pair of compression socks can help ease sore muscles in the feet and calves. They help by stimulating blood flow, which can speed up recovery and help mitigate that post-hike soreness.
Finally, allow your shoes to fully dry out if needed, and give your socks and pack towel a thorough wash and sun-dry. Once everything is cleaned and dried - and you’ve rested up - you’re ready to hit the trail on your next adventure!
Take the First Step Toward Happy Feet
If you want to take the first step toward having happy hiking feet, be sure to check out our Men’s, Women’s, and Kids’ merino wool hiking socks. With moisture-wicking, ultra soft merino wool, these socks are a great start to any hike or outdoor adventure. We hope our socks inspire you to chase the cloudline - and to care for your feet while doing it!