Waxing Your Snowboard and Skis is Easy
During winter you can find the CloudLine team on the slopes skiing and snowboarding, or hiking into the backcountry to earn some epic turns while wearing our CloudLine ski and snowboard socks. We do our best to take care of our equipment with frequent waxing and in this post, we'll show you how easy it is to keep your skis and snowboards waxed and ready for the next epic powder day.
Tools for Waxing
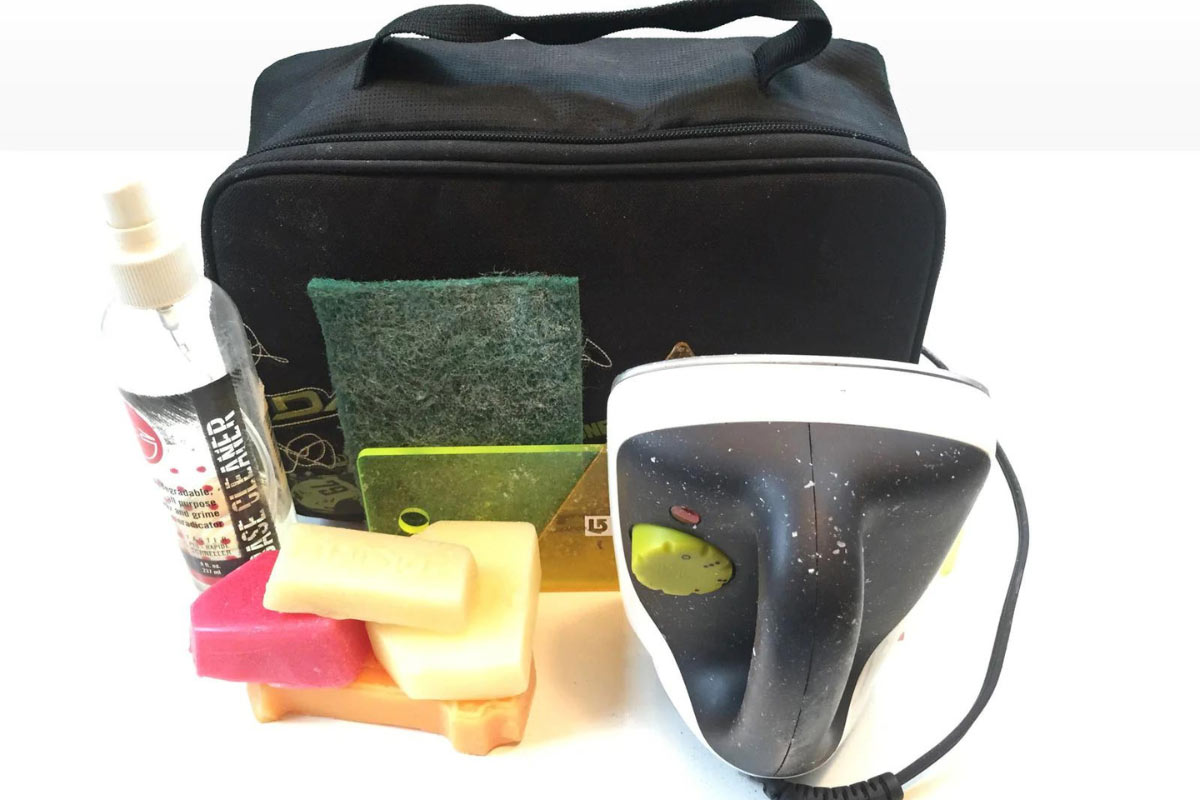
- Base Cleaner
- Wax Iron
- Wax for Expected Temperatures
- Wax Scraper
- Brush or Scuff Pad
- Saw Horses, or Snowboard/Ski Vice
If you need these tools we use and recommend the One Ball Jay Ski Snowboard Hot Wax Kit
Step 1: Gather Tools and Setup a Work Station
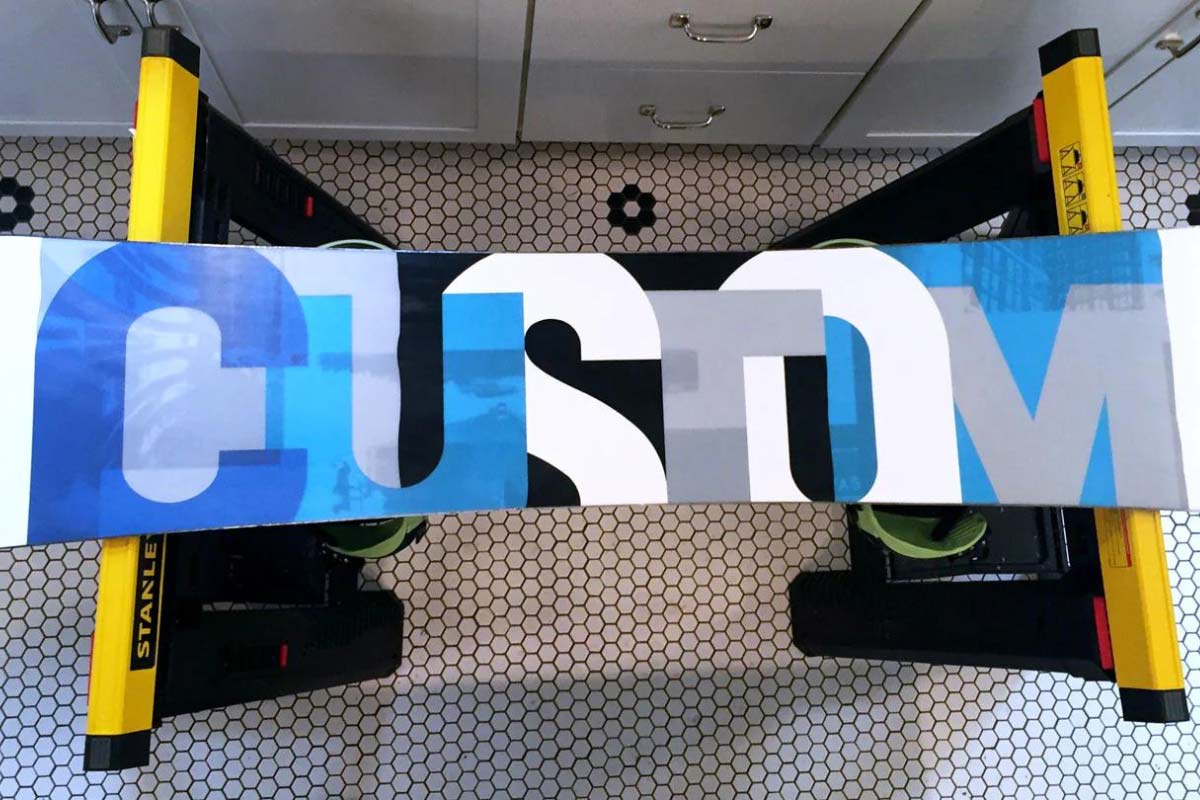
Gather the needed tools from the list above and set up your workstation in an area with easily cleaned floors. A garage, basement, or kitchen works well as you won't need to worry about wax tracking into carpets or rugs. We use a pair of sawhorses but you can also use a specialty vice like the Swix XF Universal Ski and Snowboard Vise to more securely hold skis and snowboards while waxing.
Caution: Be sure to work in a well-ventilated area, as hot waxing will release fumes.
Step 2: Clean Your Base
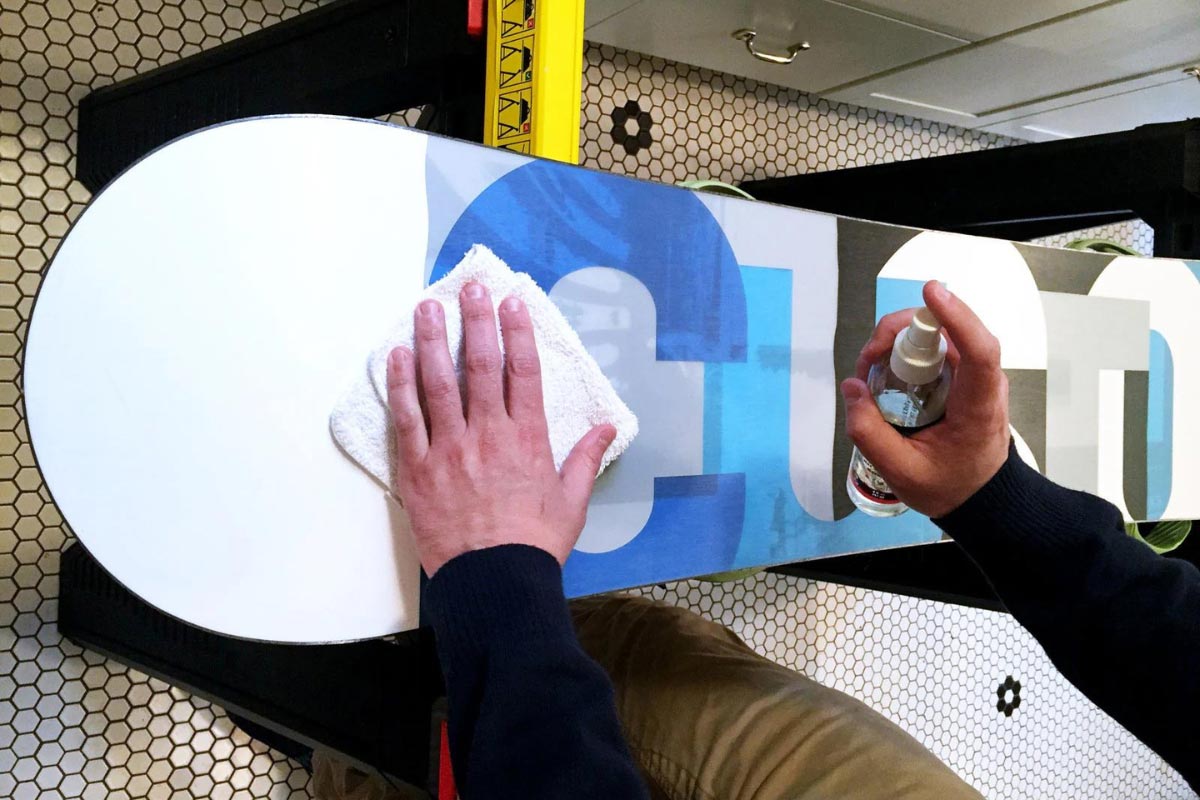
Prepare your ski or snowboard base for the new wax by removing the old wax and dirt. The easiest way to do this is to apply base cleaner. You should always follow the directions on the bottle, but the basic idea is to spray on the base cleaner and then wipe the base clean with an old rag. This will ensure your base is free of any gunk from your last trip to the mountains and ready to absorb a fresh coat of wax.
Pro-Tip: This step is especially important during spring when the melting snow becomes dirtiest.
Step 3: Select the Correct Wax for Conditions
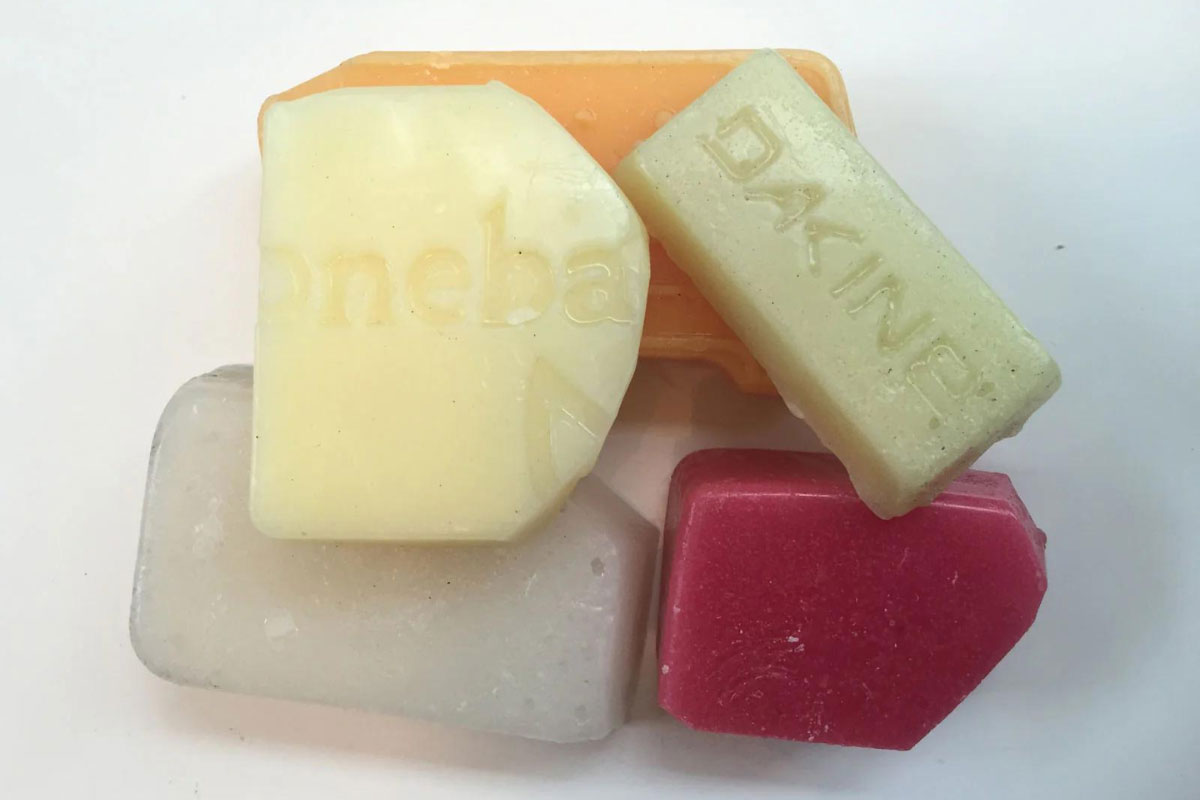
Select a wax that has been formulated for the expected snow conditions you will be skiing or snowboarding in. In colder January temperatures select a harder cold temperature wax. For warmer spring conditions choose a softer warm temperature wax. If you want to keep things simple you can also choose an all-temperature wax designed for all season use.
Step 4: Applying the Wax
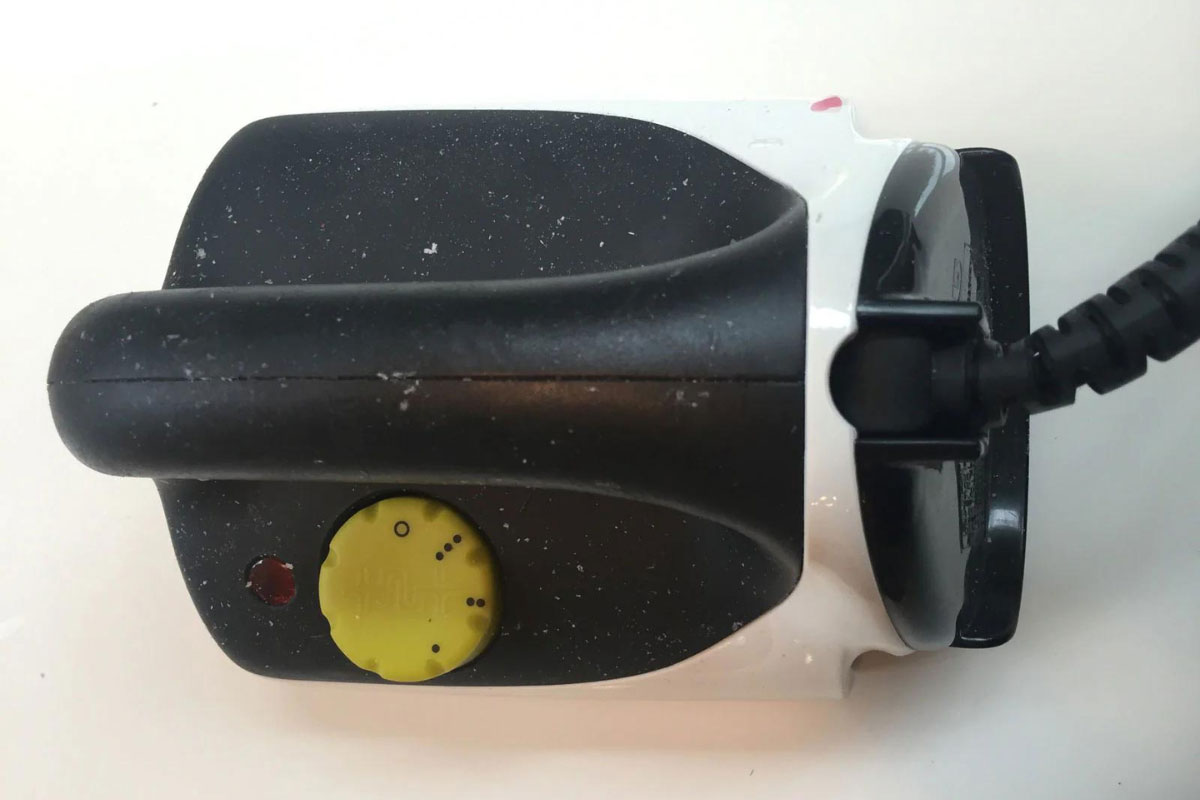
Your wax iron should have adjustable settings that correspond to different types of wax. Consult your irons user manual for detailed instructions, but the rule of thumb is that the iron should be hot enough to melt the wax but not so hot as to cause the wax to smoke. Usually, harder cold temperature waxes will need a higher setting to melt and softer warm temperature waxes require a lower setting.
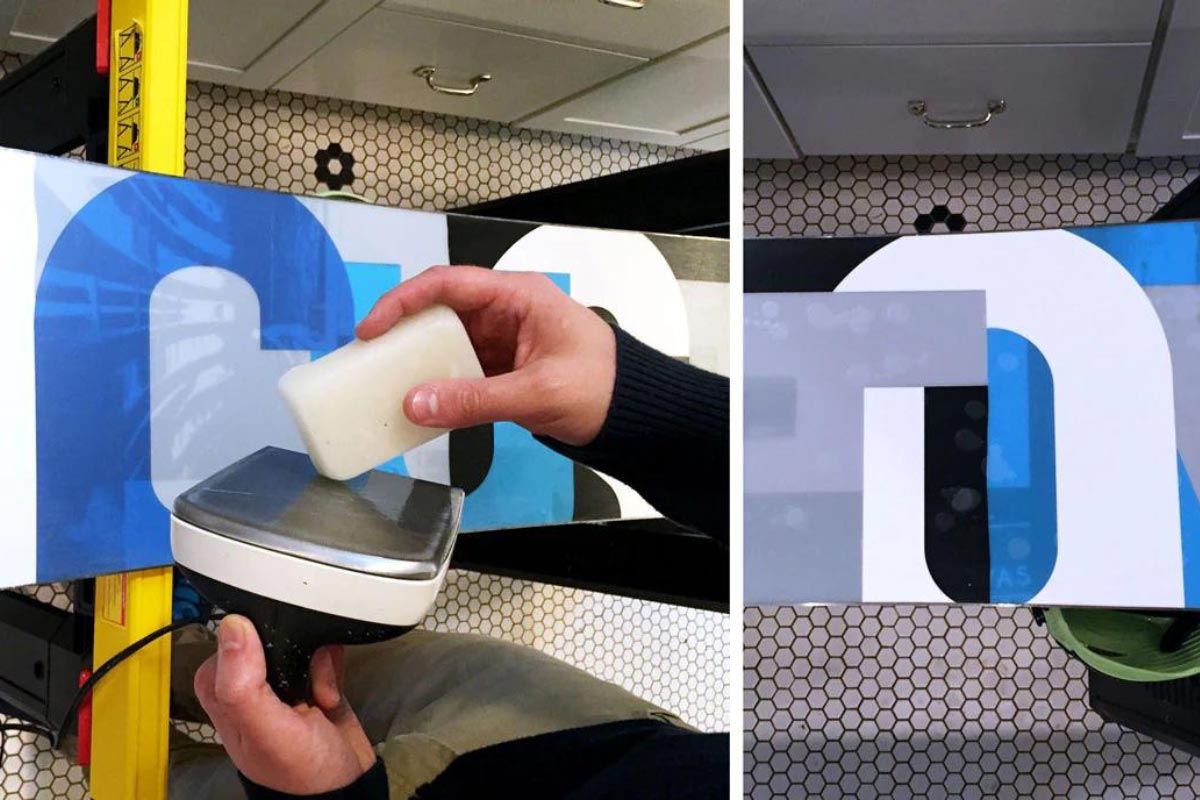
Grab your wax iron in one hand and with the other touch the wax to the iron and let the melting wax drip onto your ski or snowboard base to create an evenly spaced pattern of wax dots. Usually spacing them every 1-2" apart is plenty.
Caution: Avoid touching the iron or melted wax to avoid burns.
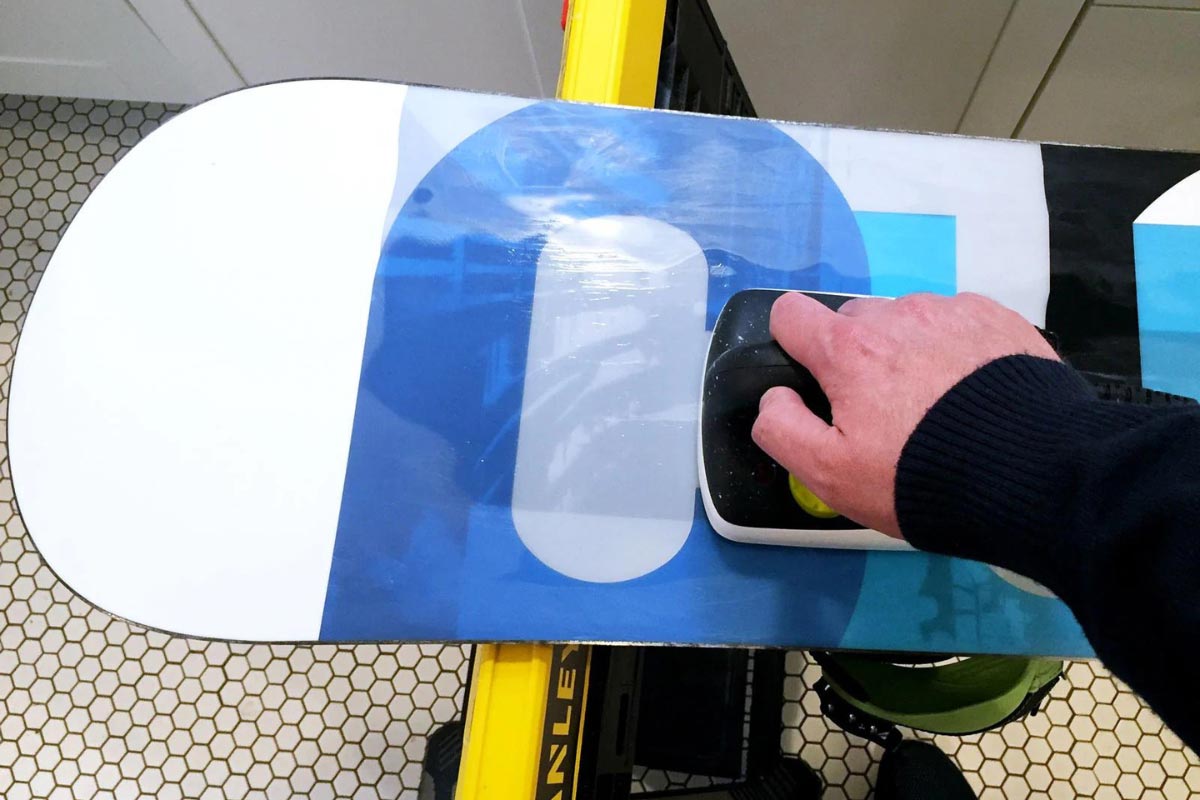
Next, use the iron directly on your ski or snowboard base similar to how you would iron a pair of pants for a big interview. This will melt each wax dot and spread a thin coat of wax over the entire base. Take your time moving the iron evenly and slowly from tip to tail. Once you have a nicely melted layer of wax, let your board cool to room temperature. Some people swear by letting the wax set overnight, but if you are in a rush waiting 20-30 minutes should do the trick.
Step 5: Scraping the Wax
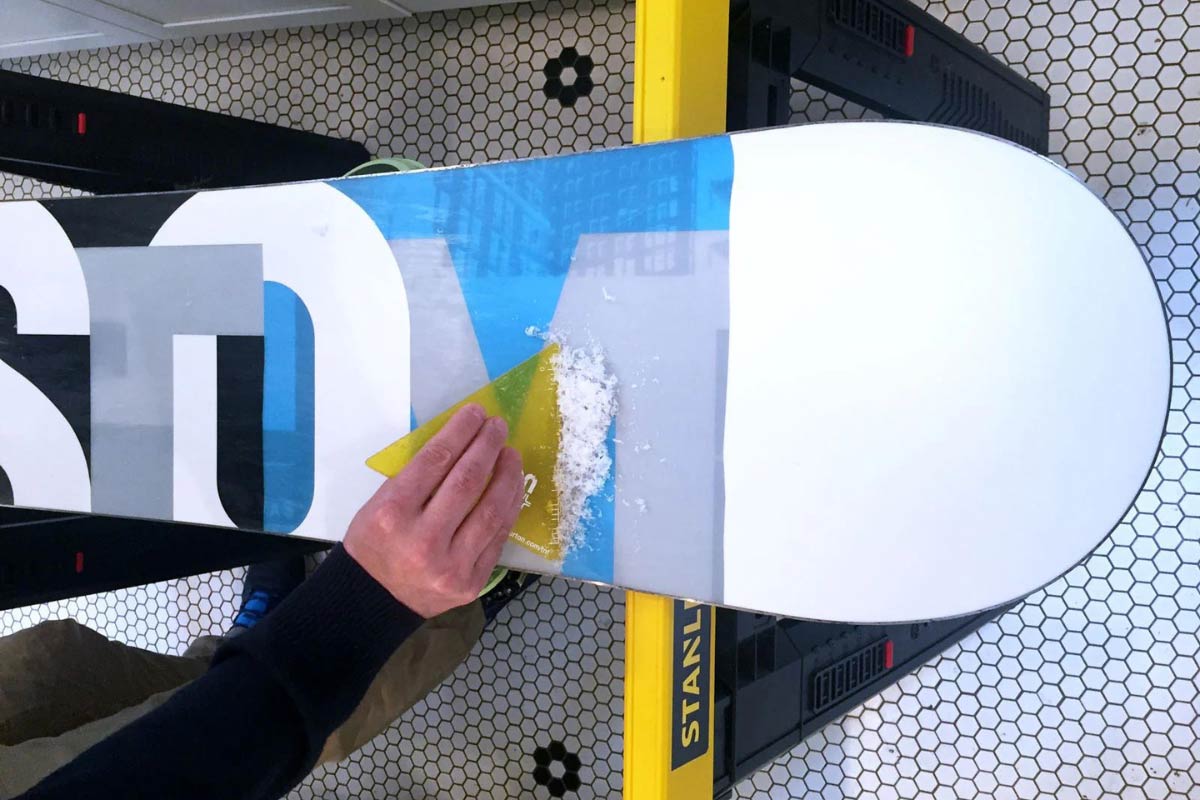
Once the wax has cooled use a plastic wax scraper to scrape the excess wax from your ski or snowboard base. You want to remove as much of the excess wax as possible with the scraper at a 45-degree angle moving from tip to tail.
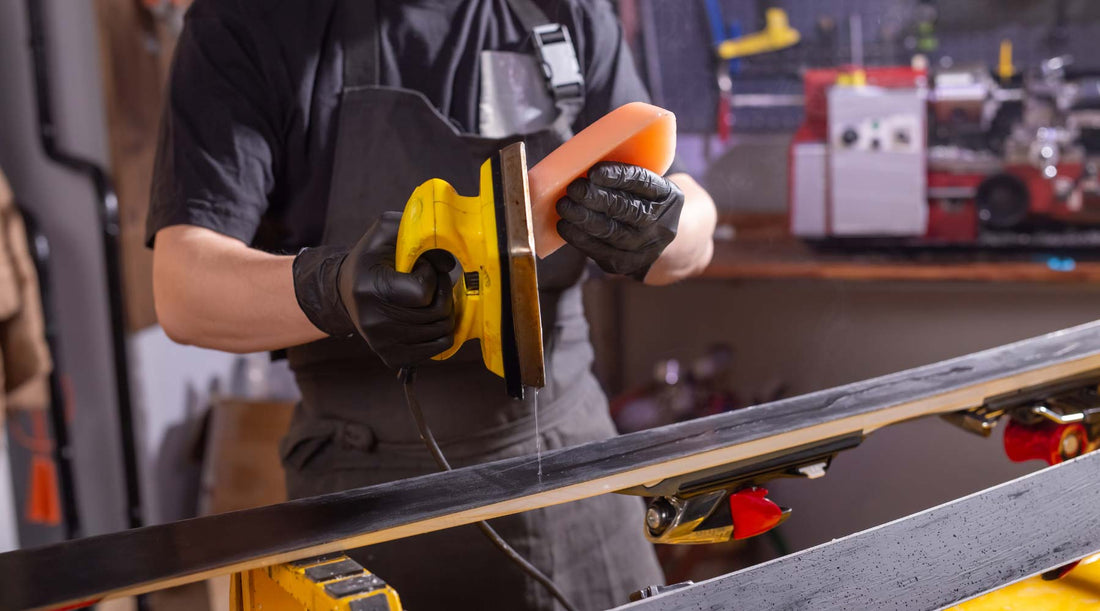
Step 6: Brushing or Buffing

After scraping your base you will next brush or buff the remaining wax smooth. You can either use a stiff base brush or scuff pad. Use the tool of your choice to buff any rough spots or excess wax the scraper missed to create a smooth base surface.
Pro-Tip: To ensure a great day on the mountain wax your snowboard or skis before every trip.
1 comment
With our upcoming skiing trip with kids, I want to make sure that our skis and snowboards are properly waxed. I’m not sure, however, on what type of wax to use. Luckily, your article provides the correct snowboard wax to use depending on the temperature. Thanks! http://shop.tune2turn.com/category.sc?categoryId=5